Voice to Text Rave Feature for Timesheet Notes is a great time saving feature now available.
To access this feature you need to have access to add timesheets and/or edit timesheets.
Rave’s Voice-to-Text feature makes it quicker and easier to add detailed notes to timesheet entries without having to type them manually.
Simply select the microphone icon, speak your notes, and Rave will convert your speech into text for you.
Note: This feature is not supported on Firefox. It is, however, supported on Chrome, Safari, and Edge
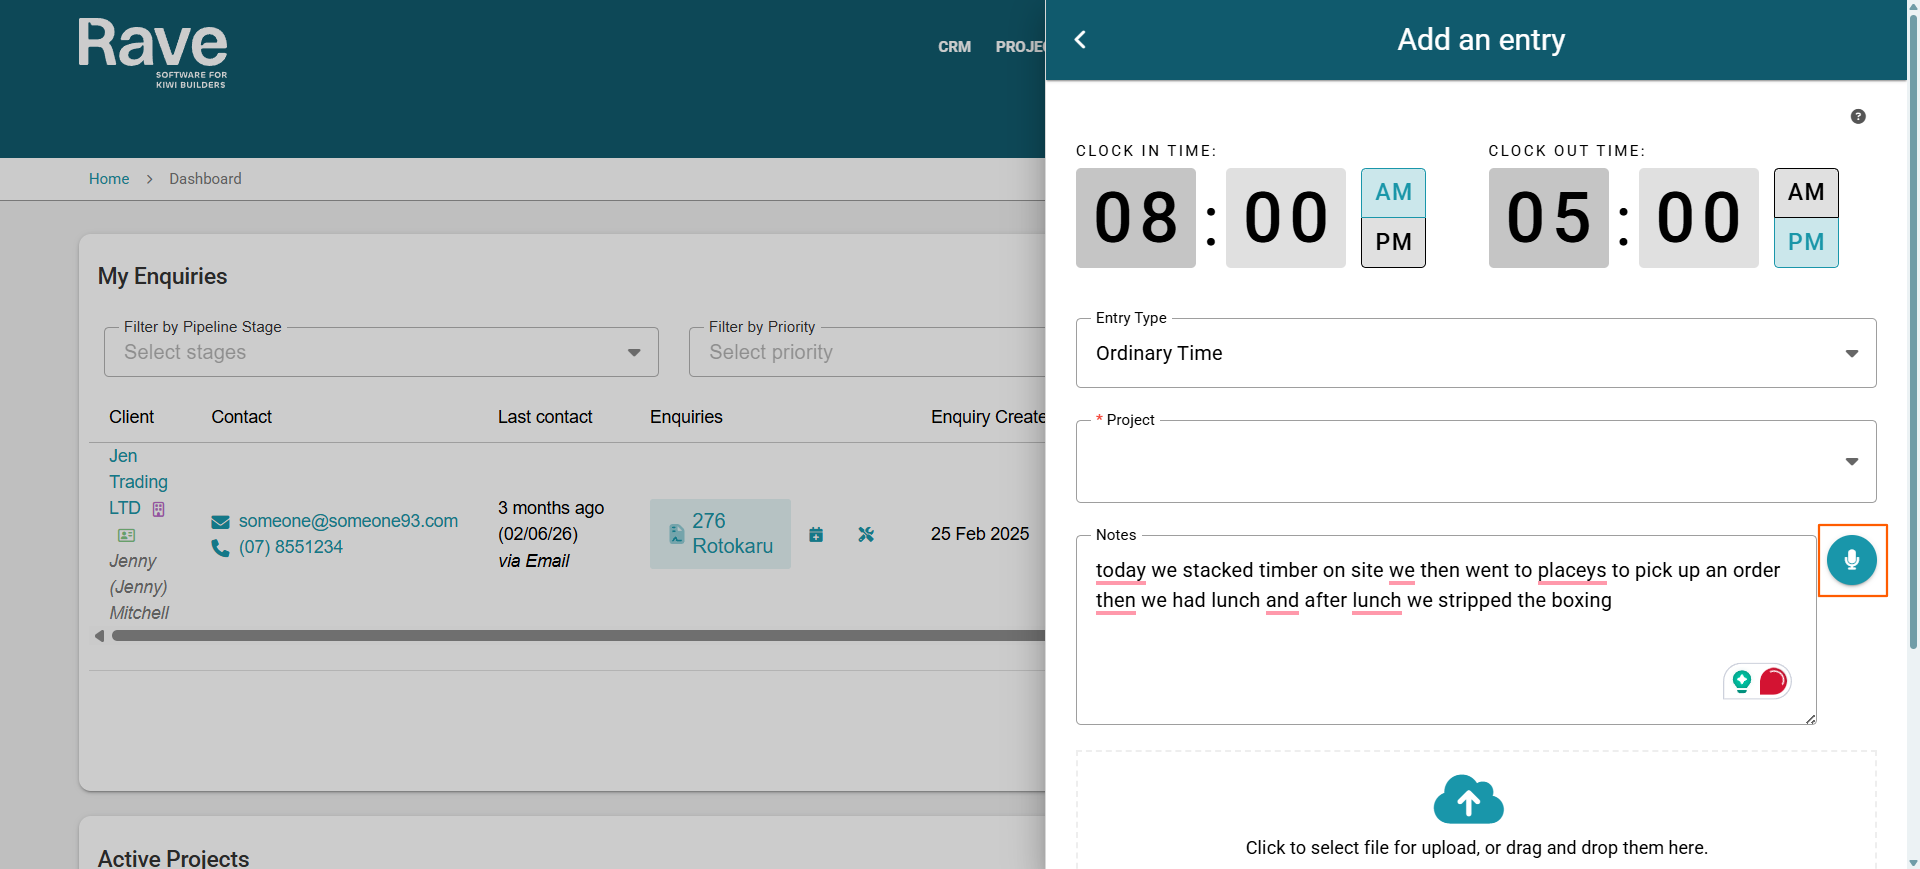
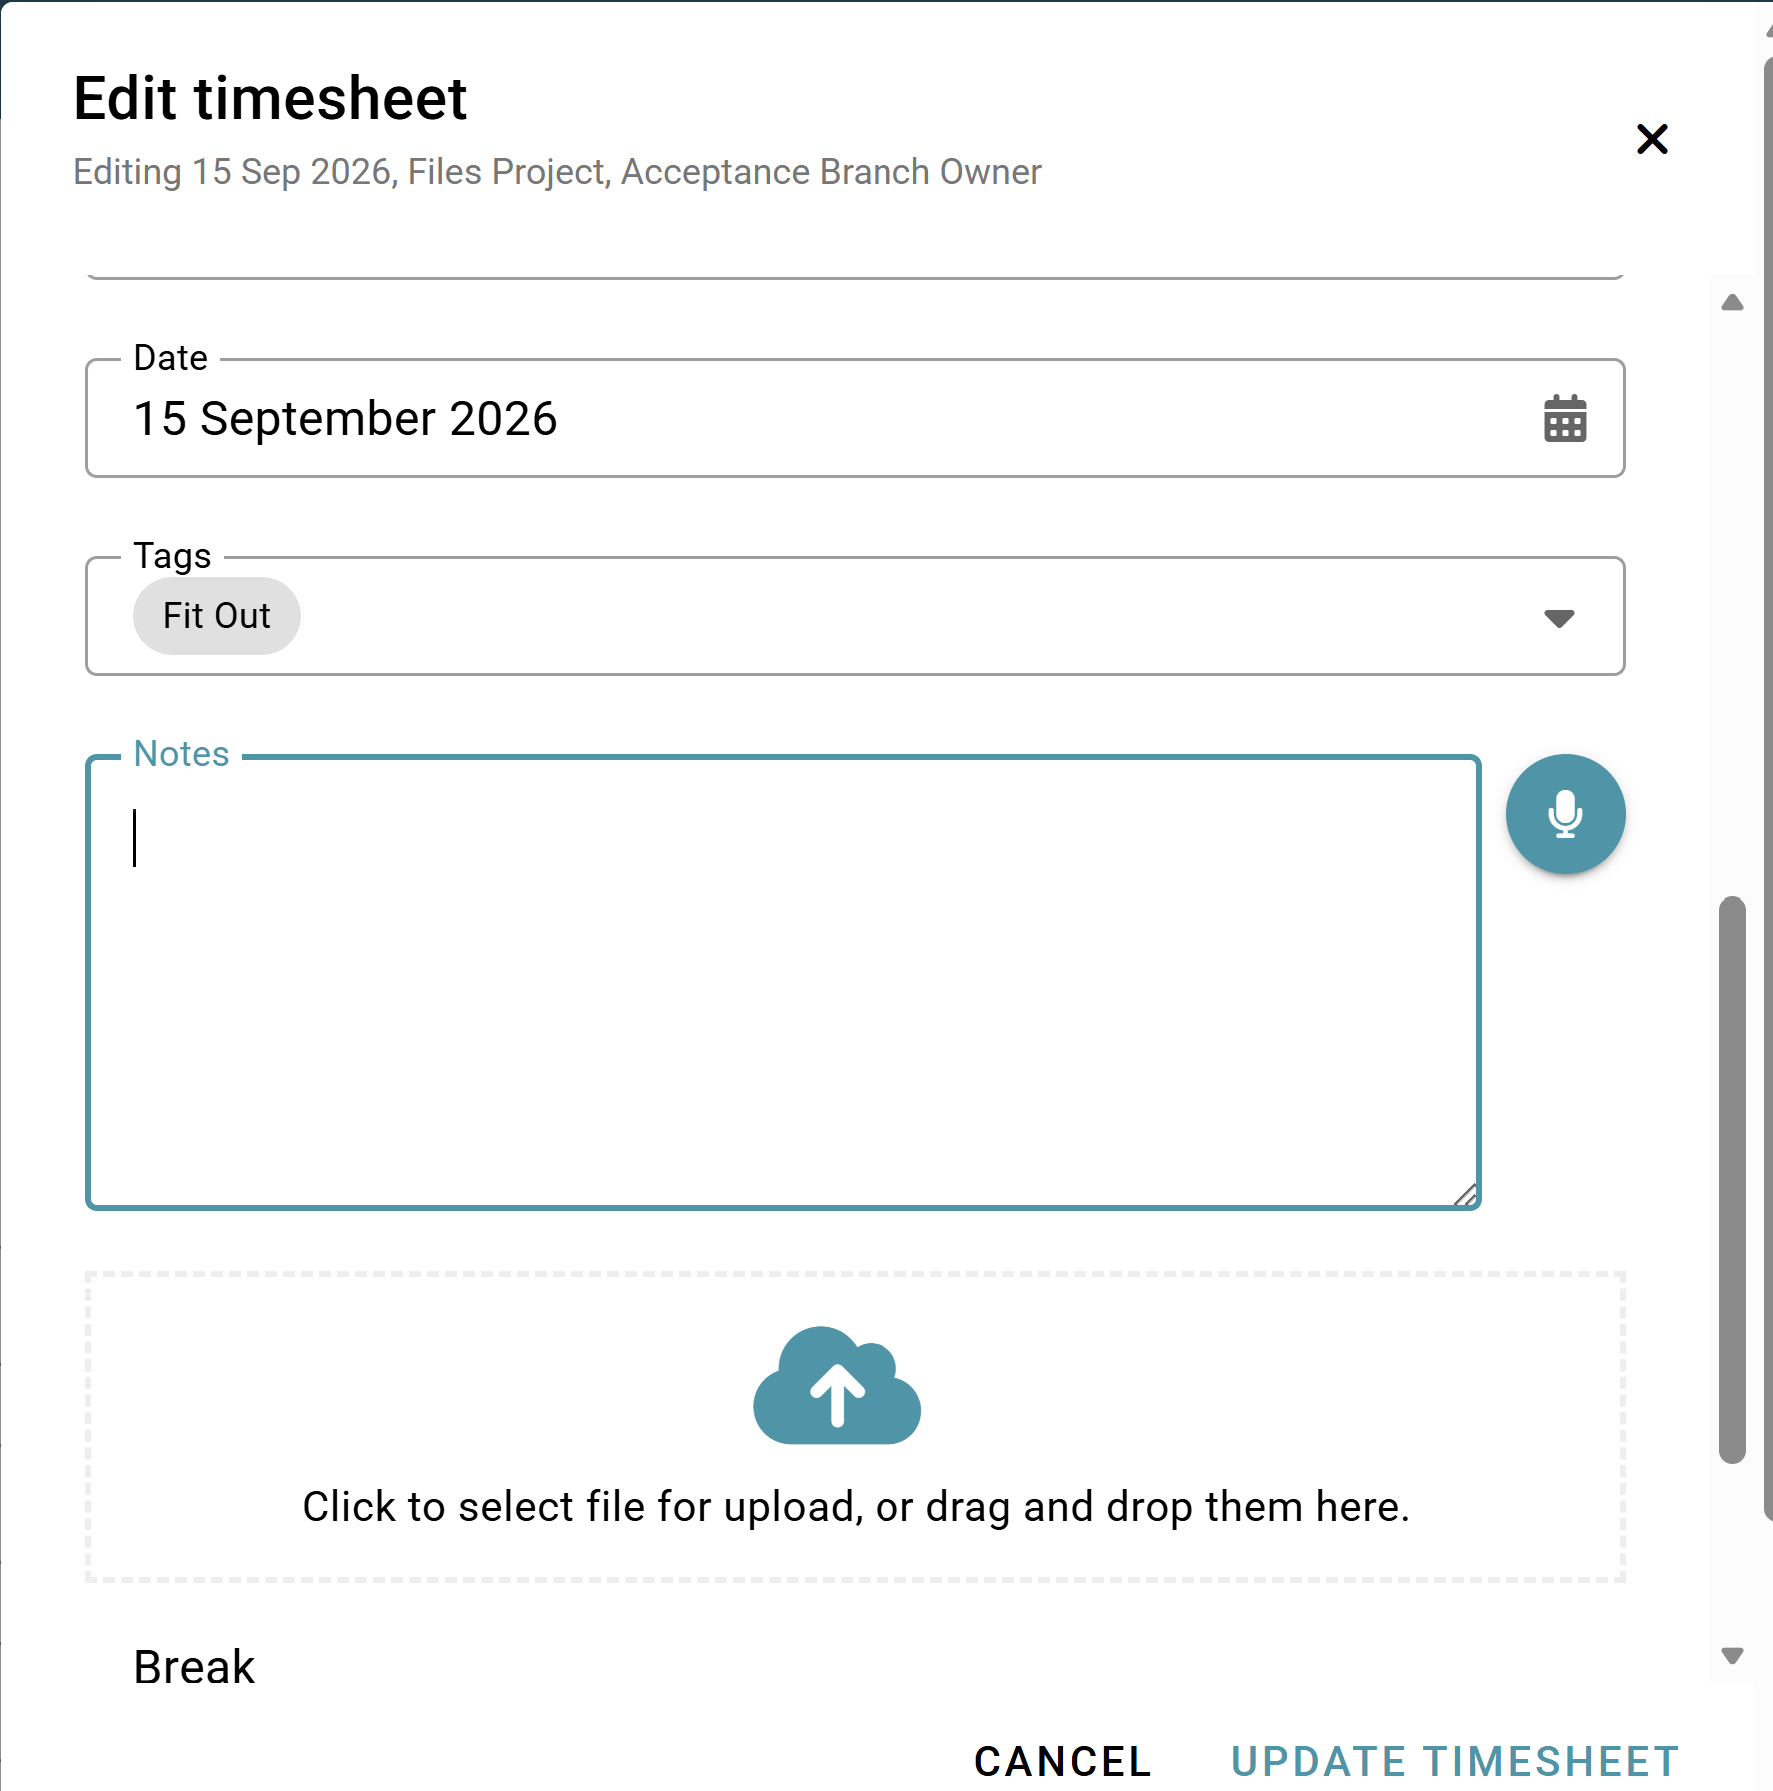
Voice-to-Text is available when adding or editing timesheet notes from both the Rave mobile app and your web browser.
Where can I use Voice-to-Text?
You can use Voice-to-Text when entering timesheet notes from:
- Timesheets Widget
- My Timesheets
- Branch Timesheets
- The Rave mobile app
Wherever the microphone icon appears beside the Notes field, Voice-to-Text is available.
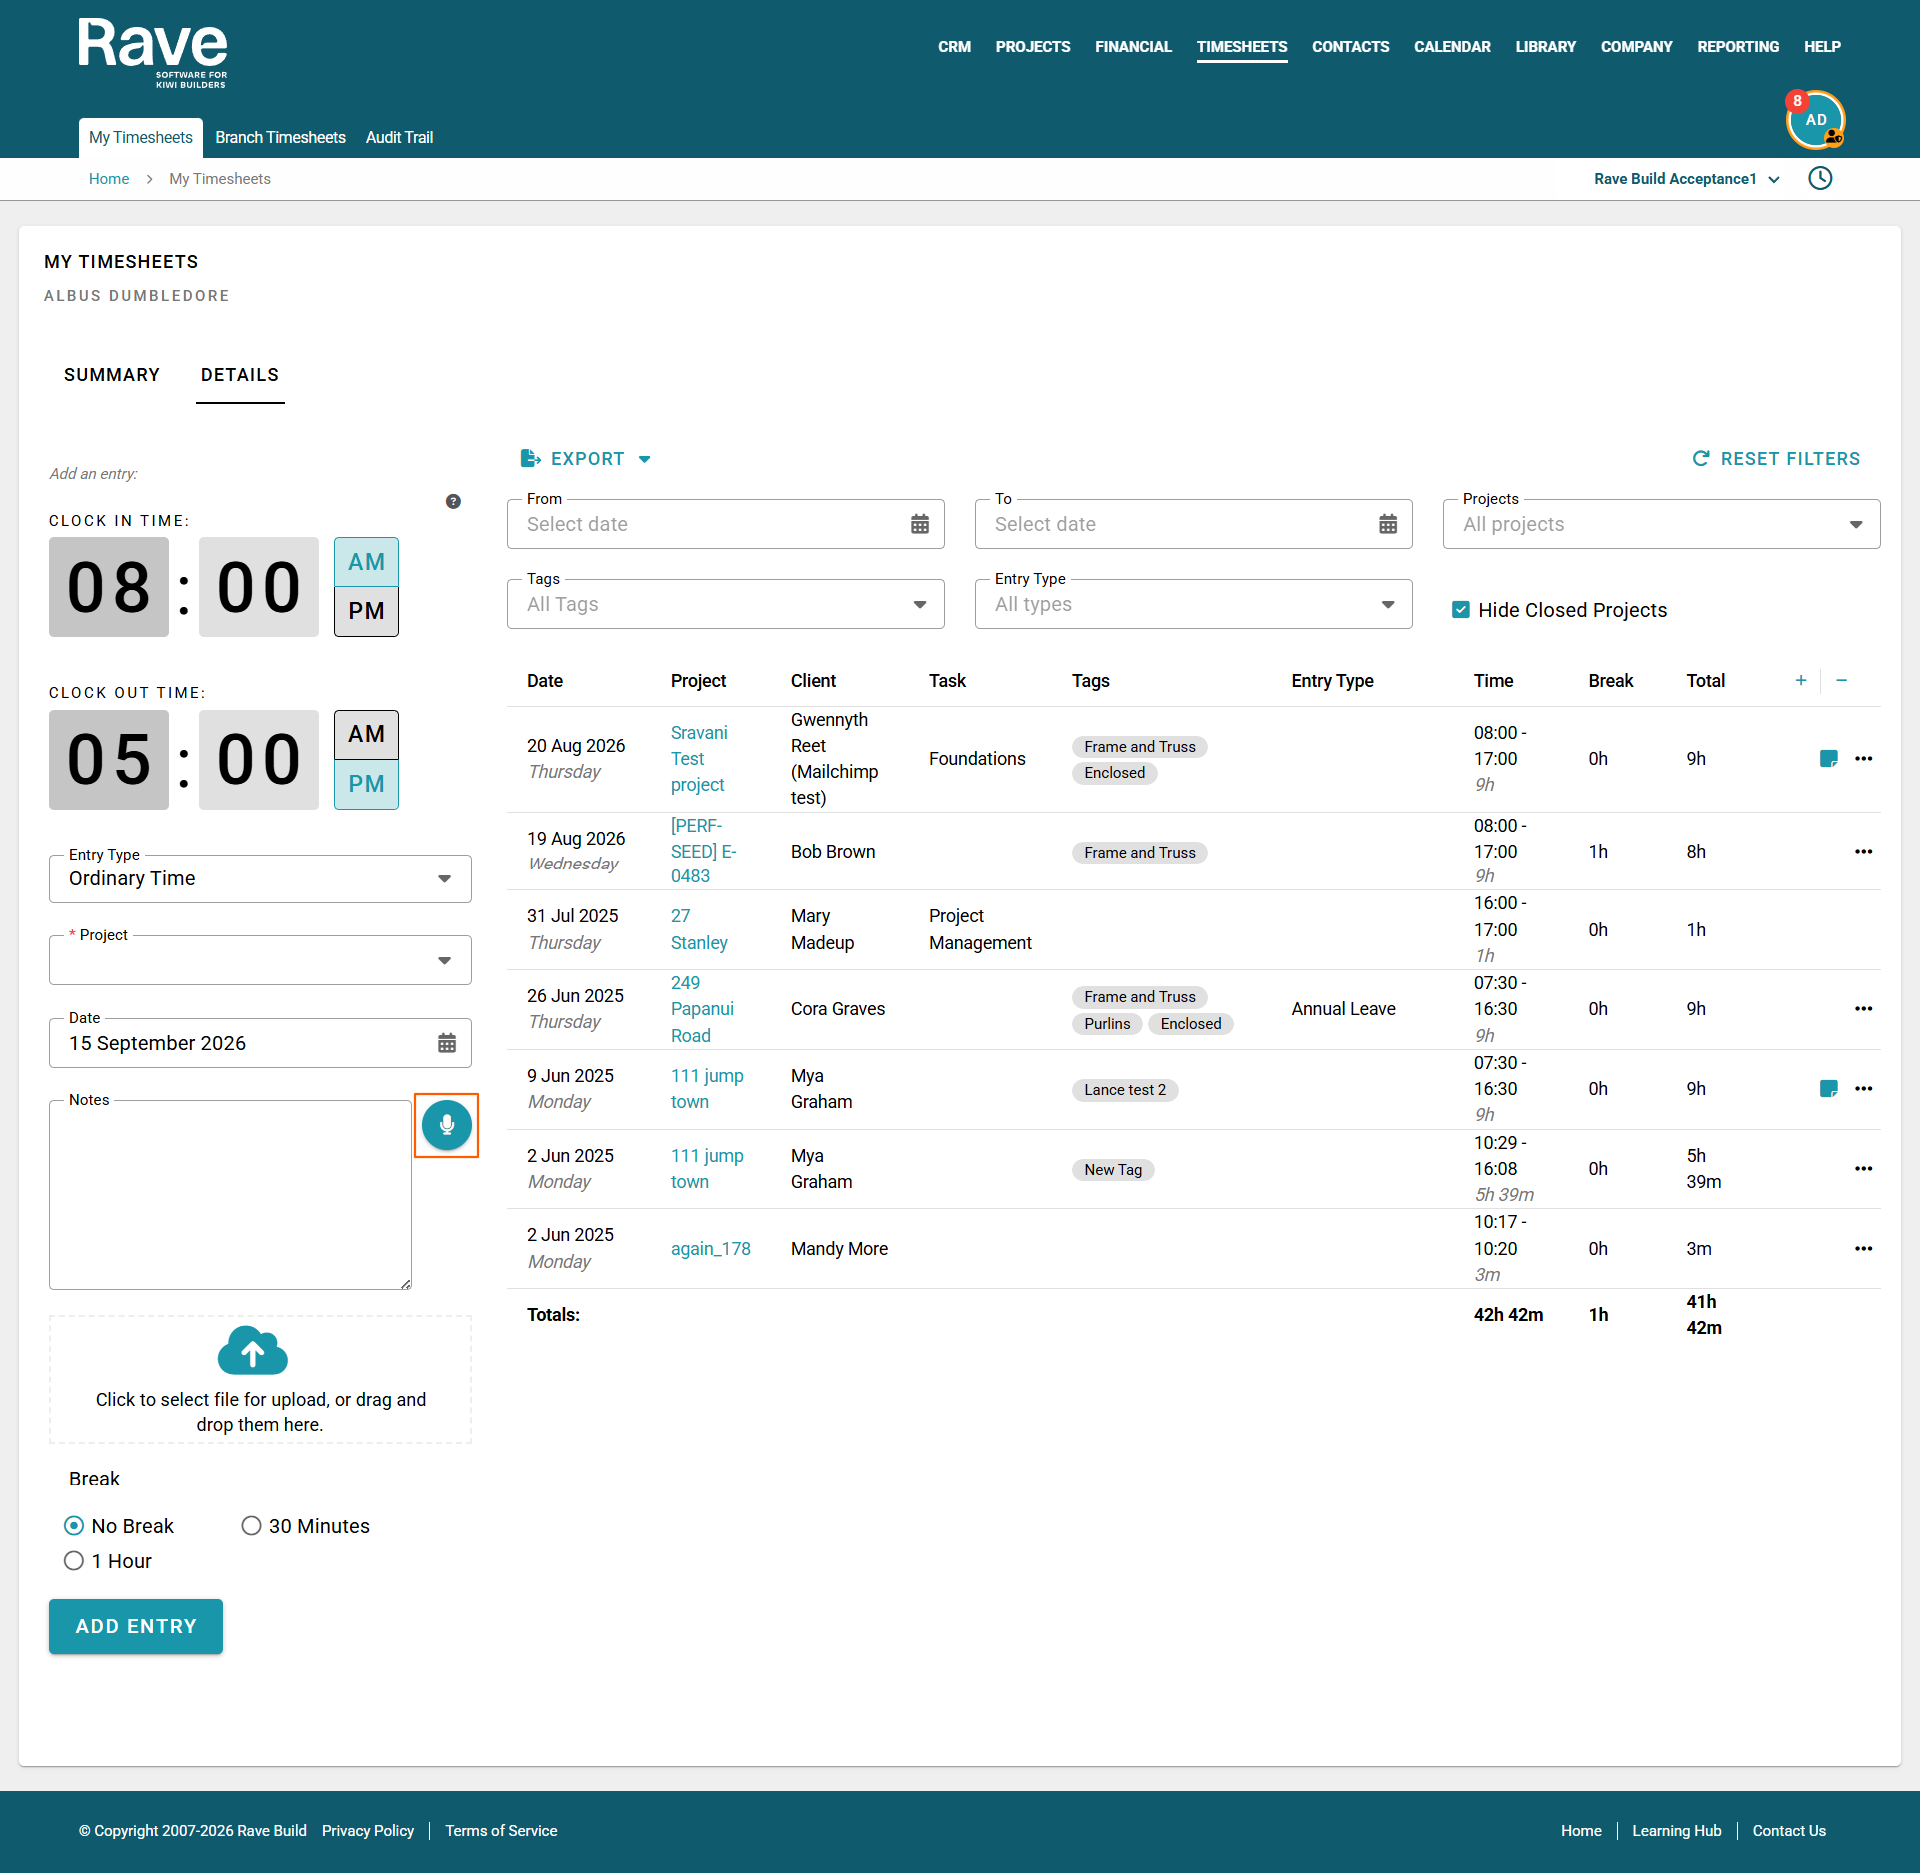
Using Voice-to-Text on the Web
When adding a timesheet entry from your browser:
- Open the relevant timesheet entry from the Timesheets Widget, My Timesheets, or Branch Timesheets.
- Enter your Clock In and Clock Out times.
- Select the relevant Entry Type and Project.
- Timesheet Tag and/or Task
- In the Notes section, click the microphone icon.
- Allow microphone access if your browser asks for permission.
- Speak your notes clearly.
- Your spoken words will automatically be converted into text in the Notes field.
- Review the text and make any changes if required before saving your timesheet entry.
For example, instead of typing:
Today we stacked timber on site, then went to Placemakers to pick up an order. After lunch we stripped the boxing.
You can simply speak the note, and Rave will populate it for you.
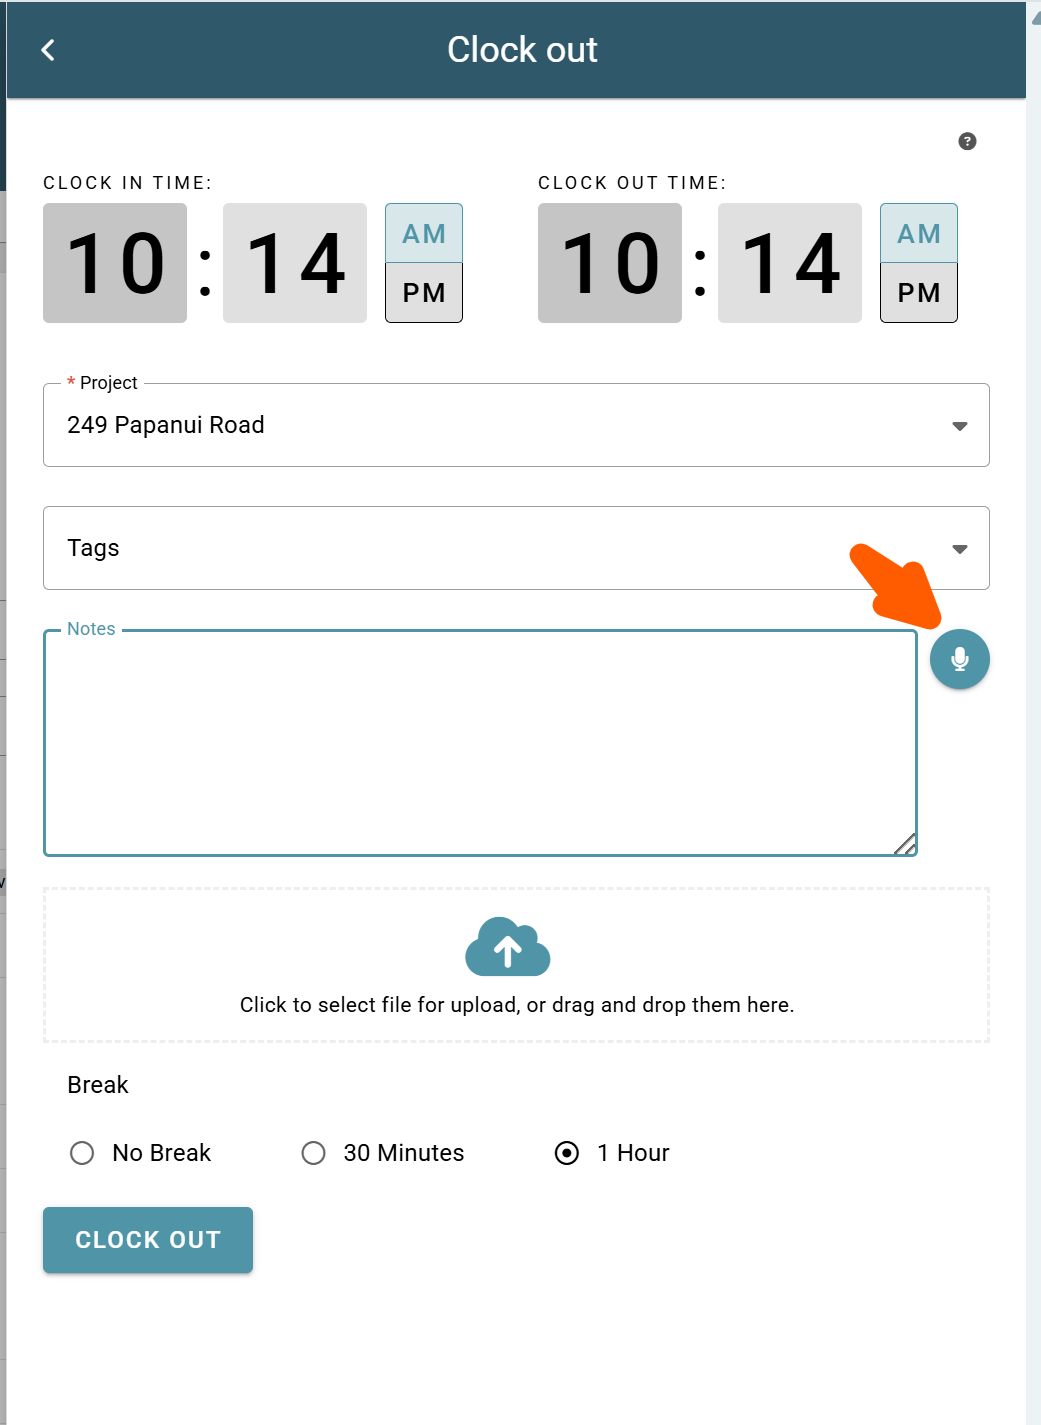
Using Voice-to-Text in the Rave App
Voice-to-Text is also available when entering timesheets through the Rave app.
- Open the Timesheets widget in the app.
- Add a new timesheet entry or open an existing entry.
- Tap the microphone icon next to the notes field.
- If prompted, allow Rave access to your device microphone.
- Speak your timesheet notes.
- Review the converted text and make any edits before saving.
Tips for Better Results
For the clearest Voice-to-Text results, speak naturally but clearly and try to minimise background noise.
It is also a good idea to review your notes before saving, particularly for site names, supplier names, people's names or construction terminology that may be interpreted differently by speech recognition.
Microphone Permissions
If Voice-to-Text is not working, check that Rave has permission to access your microphone.
On a web browser, microphone access is controlled through your browser's site permissions. On the Rave app, microphone access can be checked through your phone or tablet's app permissions.
Once microphone access has been enabled, return to your timesheet entry and select the microphone icon again.
Was this article helpful?
That’s Great!
Thank you for your feedback
Sorry! We couldn't be helpful
Thank you for your feedback
Feedback sent
We appreciate your effort and will try to fix the article