The following is a full training video for Rave Checklists - for step-by-step written instructions, please refer to the help article links and guide added below.
To Access the article on Adding/Editing Checklists and Todo's, click here.
To Access the article on Checklist Permissions, click here.
To Access the article on Checklist Notifications, click here.
To Access the article on saving to a template and loading from a template, click here.
To Access the article on the Checklist Template menu, including CSV import, click here.
Checklist Status Groups allow you to customise the status options available on project Checklists and Todos.
Instead of using only the standard Complete, Incomplete, and Not Applicable options, you can create different groups of statuses to suit different types of work, processes, or project stages.
For example, you might create a Site Works group with statuses such as Site Start and Site Complete, or a Handover group with statuses such as In Progress, Ready for Review, Repairs, and Final Maintenance Review.
Permission required: Users must have the Branch Settings – Checklist Settings permission enabled to manage Checklist Status Groups.
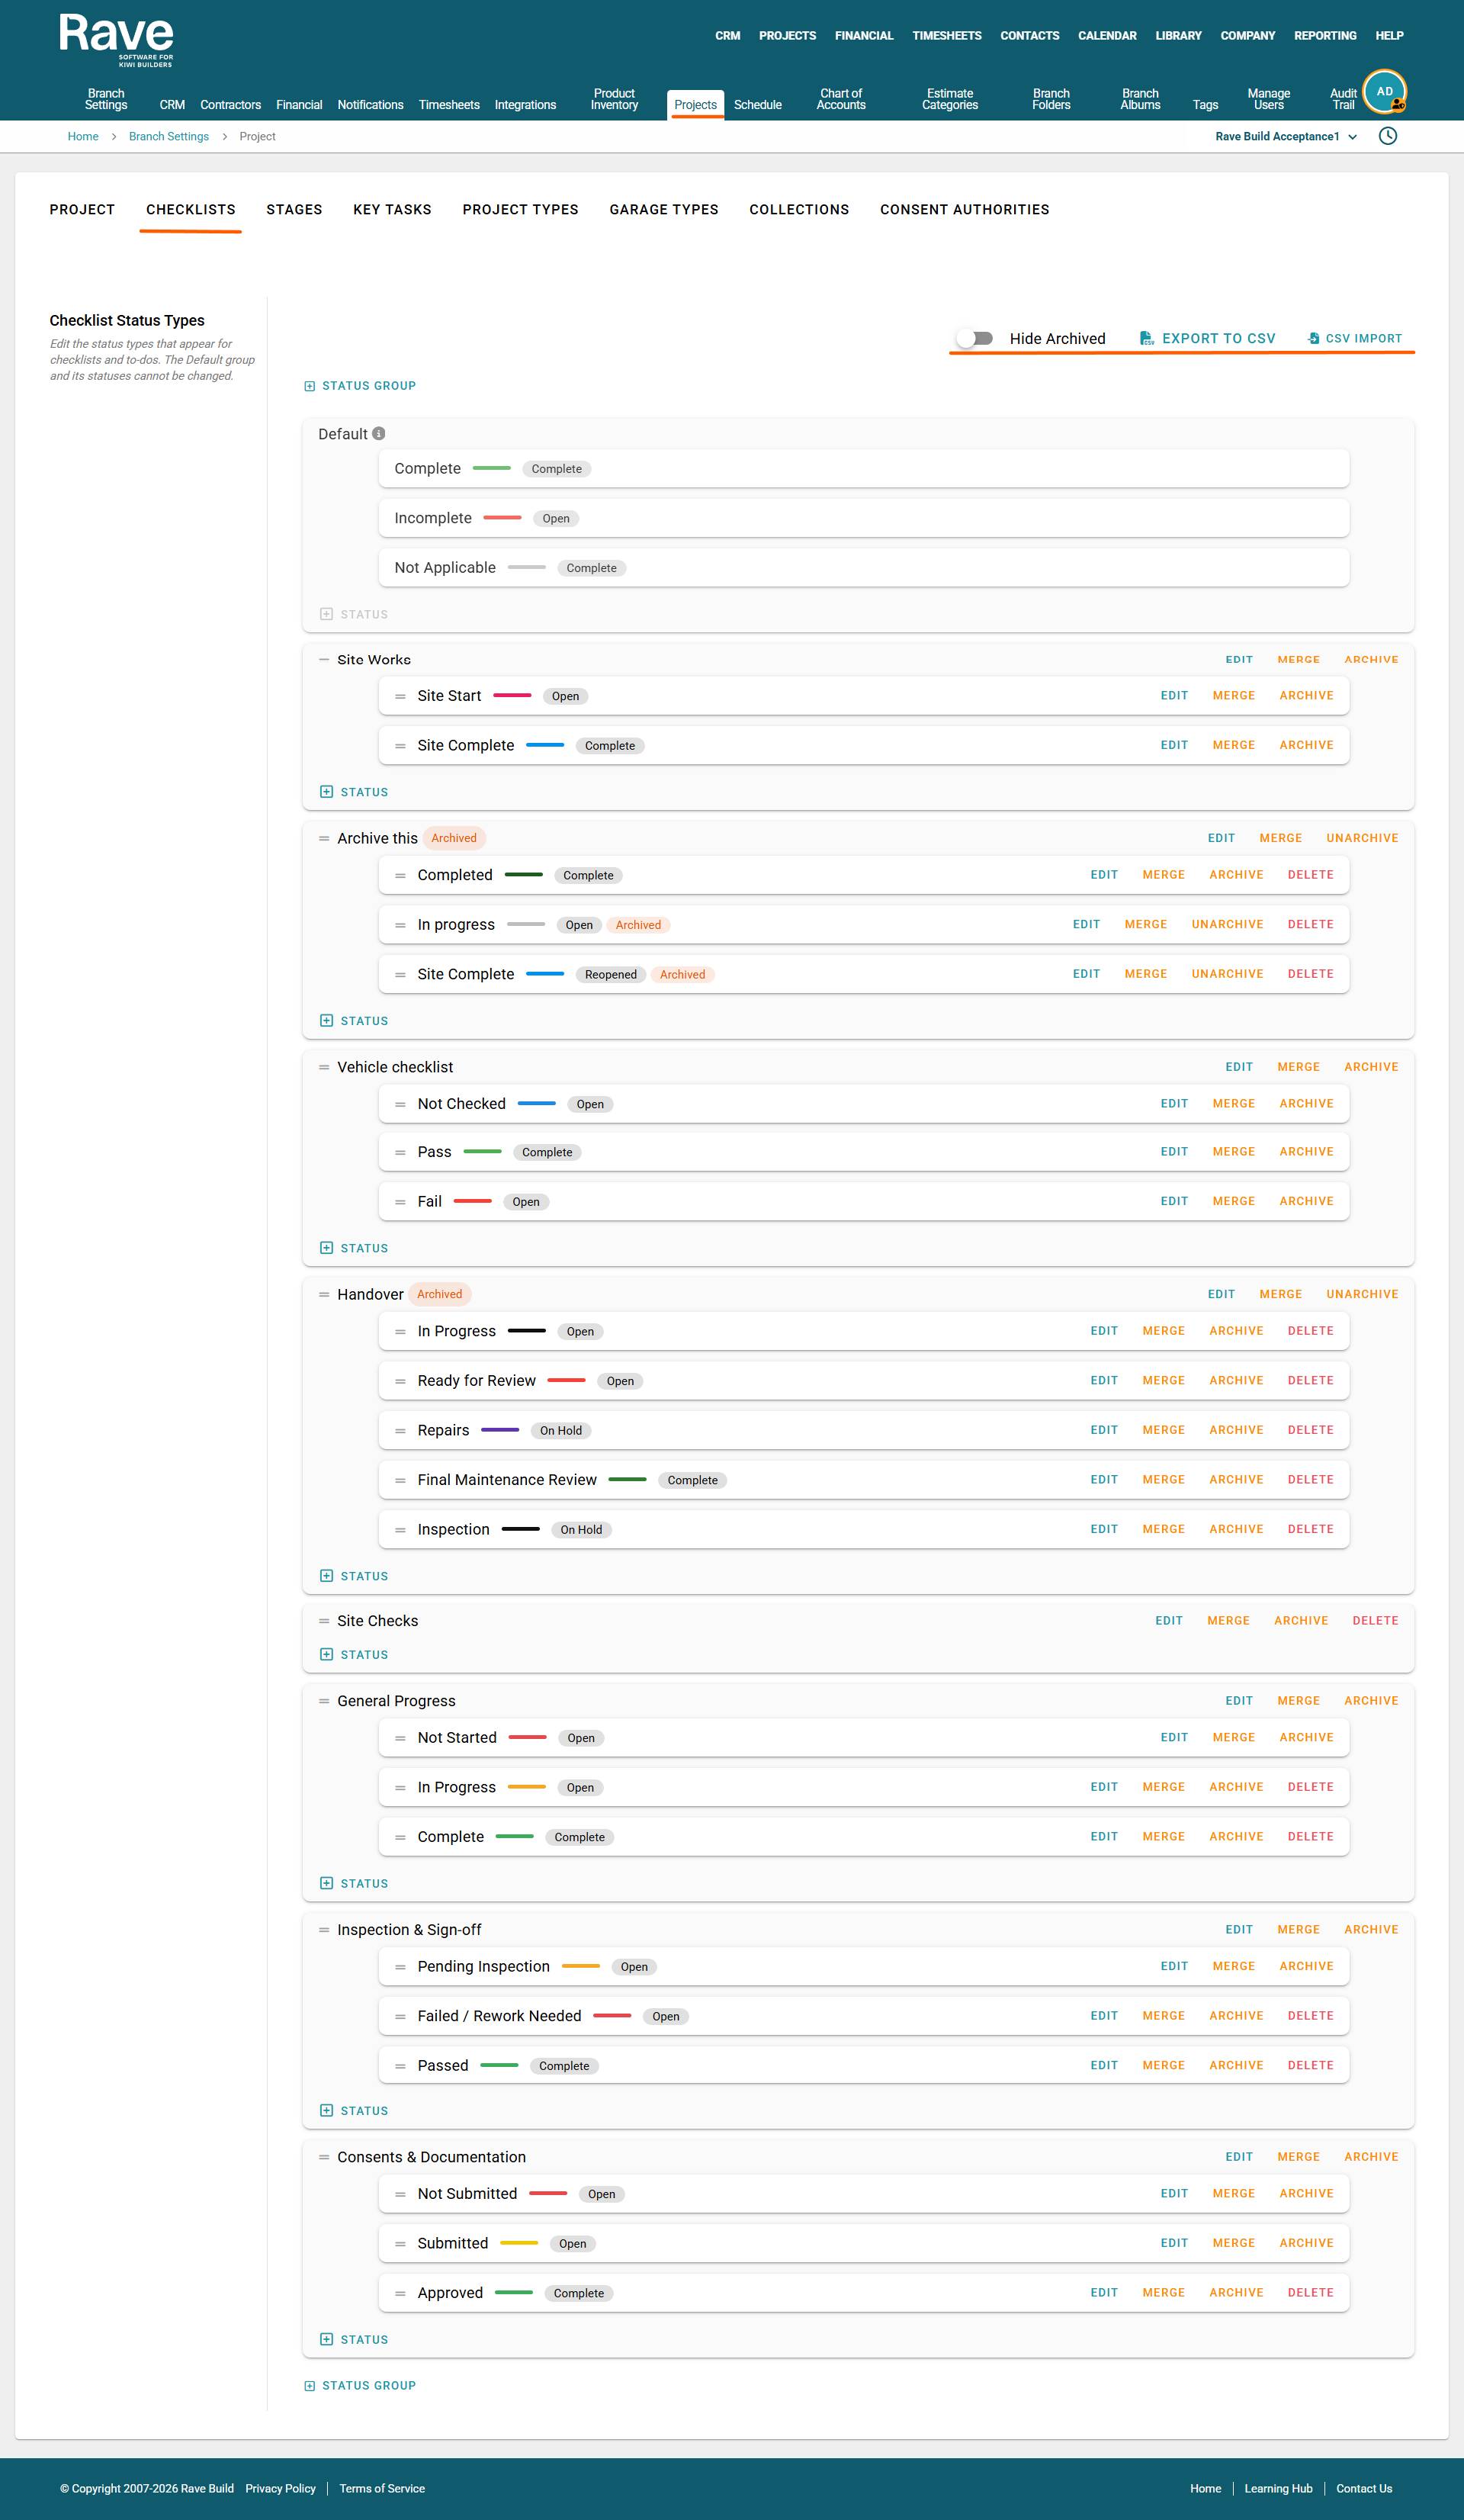
Accessing Checklist Status Groups
To manage your Checklist statuses:
- Go to your Profile Dropdown
- Select Branch Settings - Projects.
- Open the Checklists tab.
You will then see the Checklist Status Types configured for your branch.
The Default Status Group
Every branch has a Default status group.
The Default group contains the standard Checklist statuses:
- Complete
- Incomplete
- Not Applicable
The Default group and its statuses cannot be changed. These statuses remain available as the standard Checklist options.
Creating a Status Group
To create a new group, click + Status Group.
Give the group a name that clearly identifies what the statuses will be used for.
For example:
- Site Works
- Handover
- Vehicle Checklist
- QA Inspection
- Maintenance
Once the group has been created, you can add the individual statuses that belong to it.
Adding Statuses
Within a Status Group, click + Status to add another status option.
Each status can be configured with its own:
- Status name
- Colour
- Status type
The status type determines how Rave treats the status for Checklist reporting and completion purposes.
Available types may include statuses such as:
Open – The Todo is still outstanding.
Reopen - Ability to mark an item as Reopen and assign to a name of 'Fail'
On Hold – The Todo is not currently progressing.
In Dispute – The Todo has an issue or dispute requiring resolution.
Complete – The Todo is considered completed.
This means you can use your own wording while still telling Rave what the status represents.
For example, Site Complete, Pass, and Final Maintenance Review could all use the Complete status type.
Editing a Status or Group
Click Edit beside a Status Group or individual status to make changes.
You can use this to update details such as the group name, status name, colour or status type.
Changes to statuses should be made carefully, particularly where the status is already being used on active project Checklists or Todos.
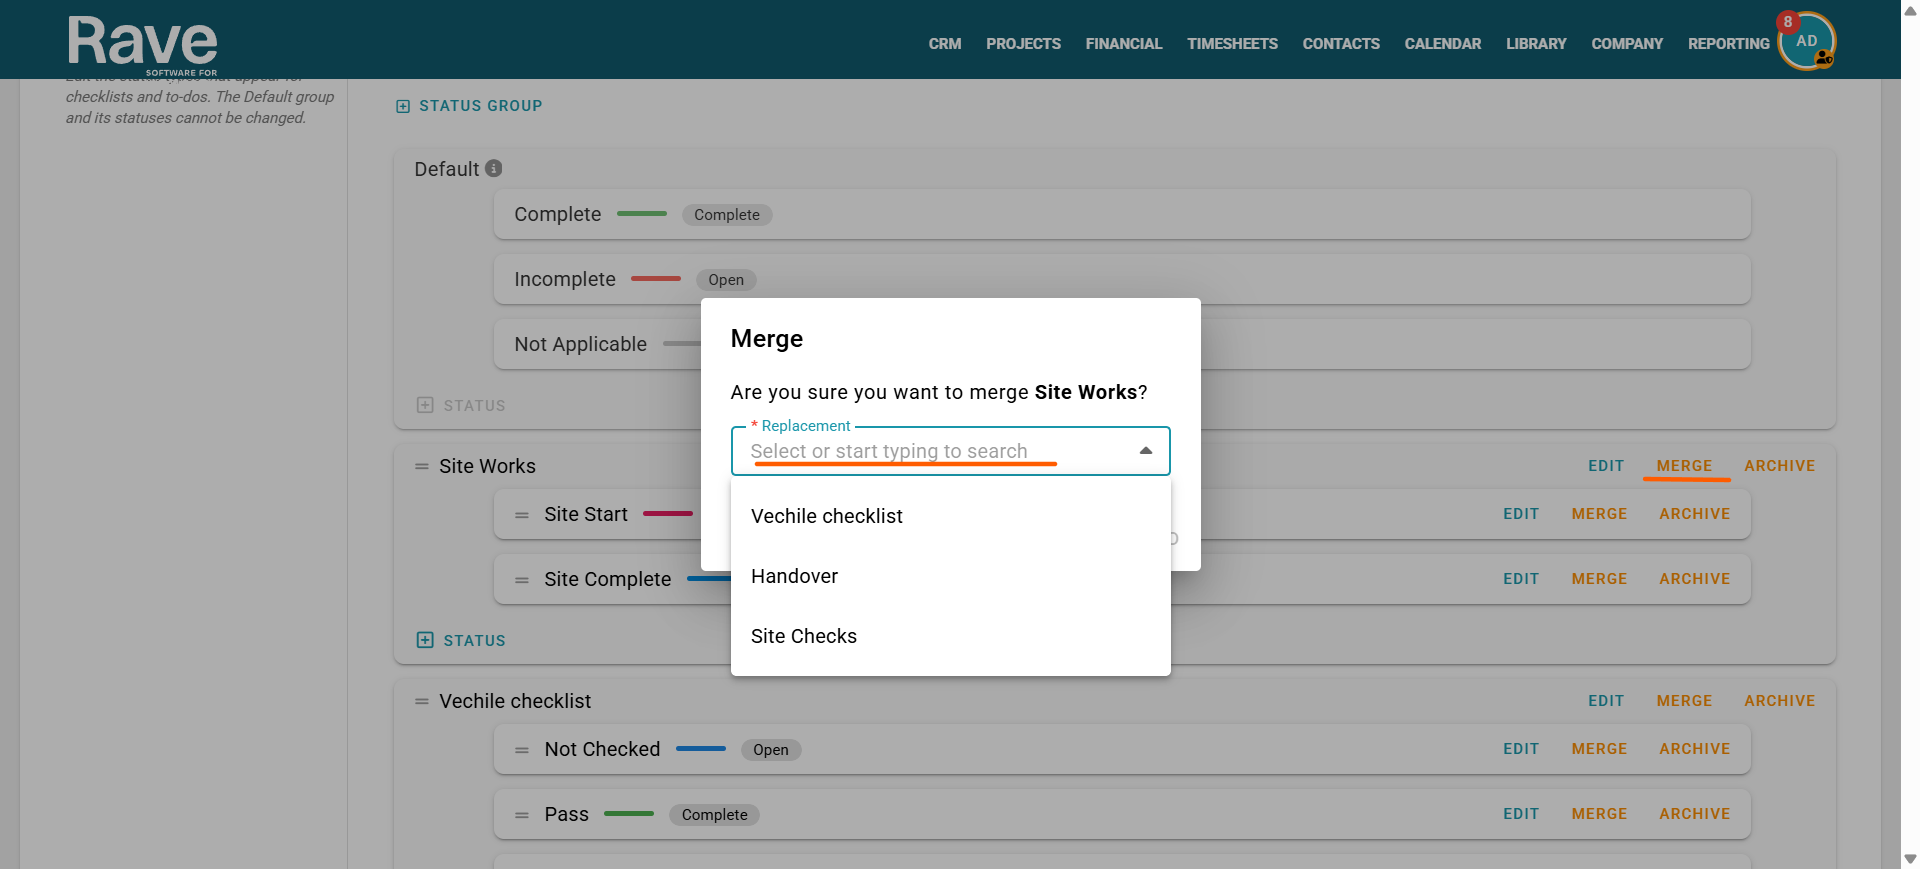
Merging Statuses and Groups
The Merge option allows you to combine an existing status or Status Group with another one.
This is useful where:
- Two similar statuses have been created.
- You want to simplify your checklist status options.
- An old status needs to be replaced by a newer option.
Merging allows existing checklist information using the old option to be moved into the selected replacement rather than simply removing the status.
Archiving Statuses and Groups
You can use the Hide archived slider at the top right of the page to hide the archived groups if they get too much.
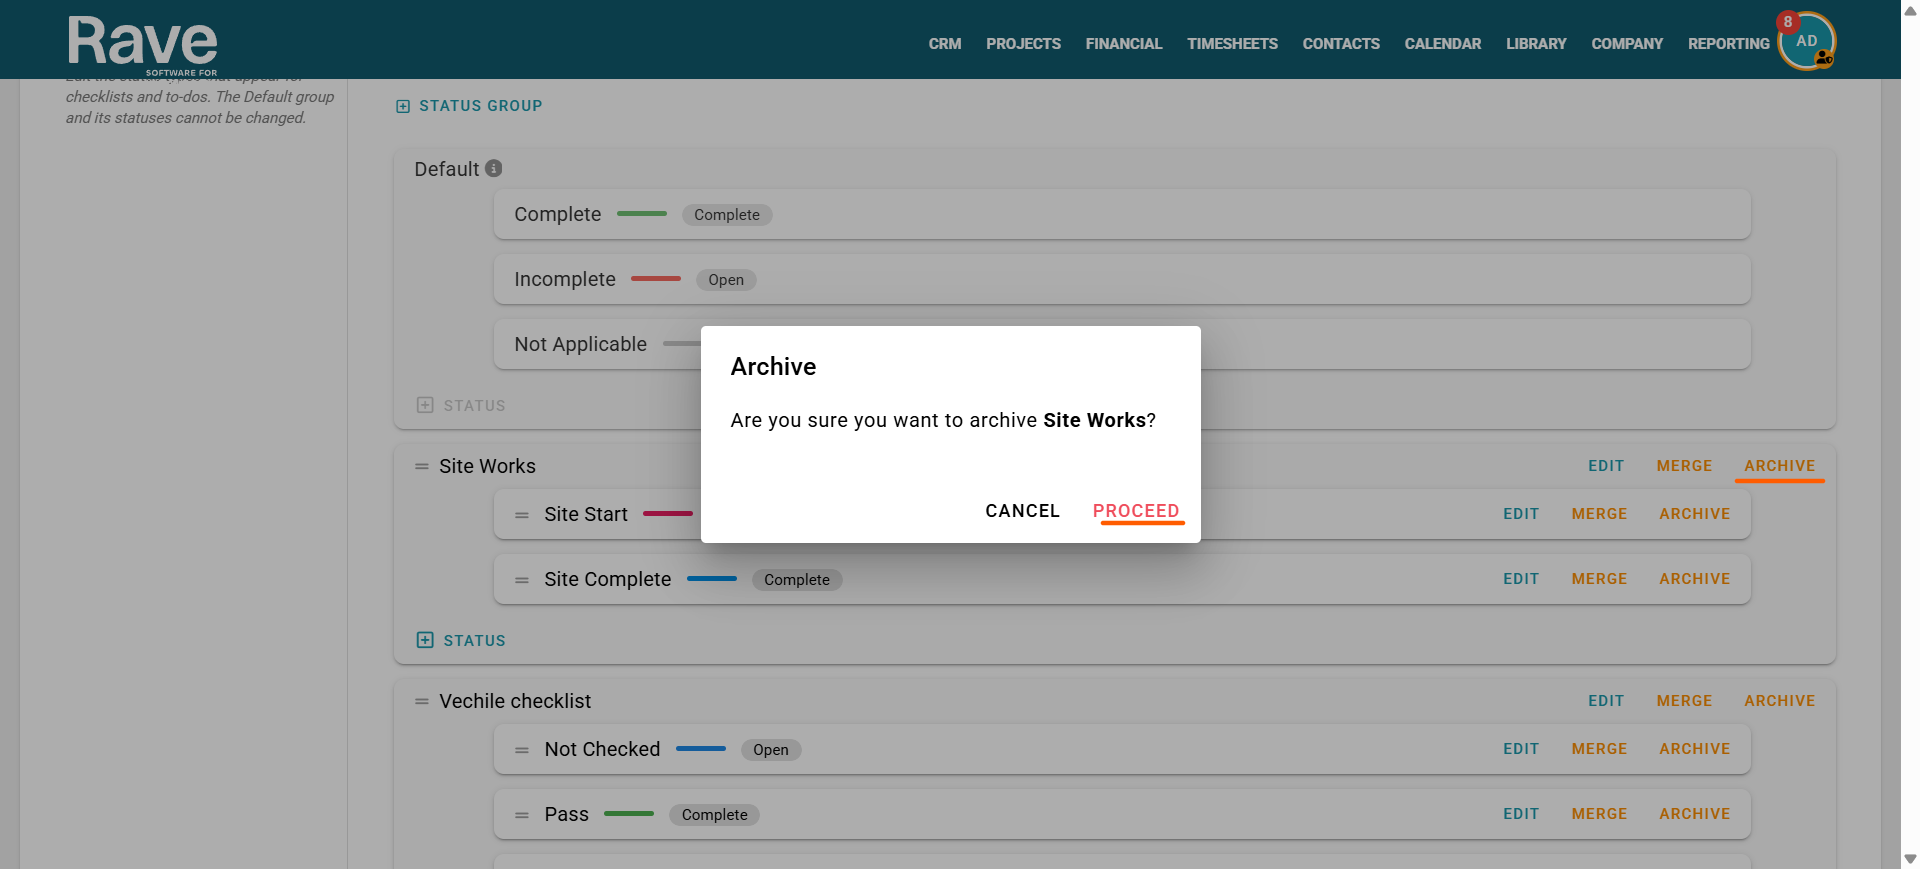
Click Archive when you no longer want a Status Group or status to be available for future use.
Archiving is useful when a status has previously been used and you want to retain its historical information without allowing it to continue being selected.
Archived Status Groups are clearly marked as Archived.
Where available, click Unarchive to make the group available again.
Deleting Statuses
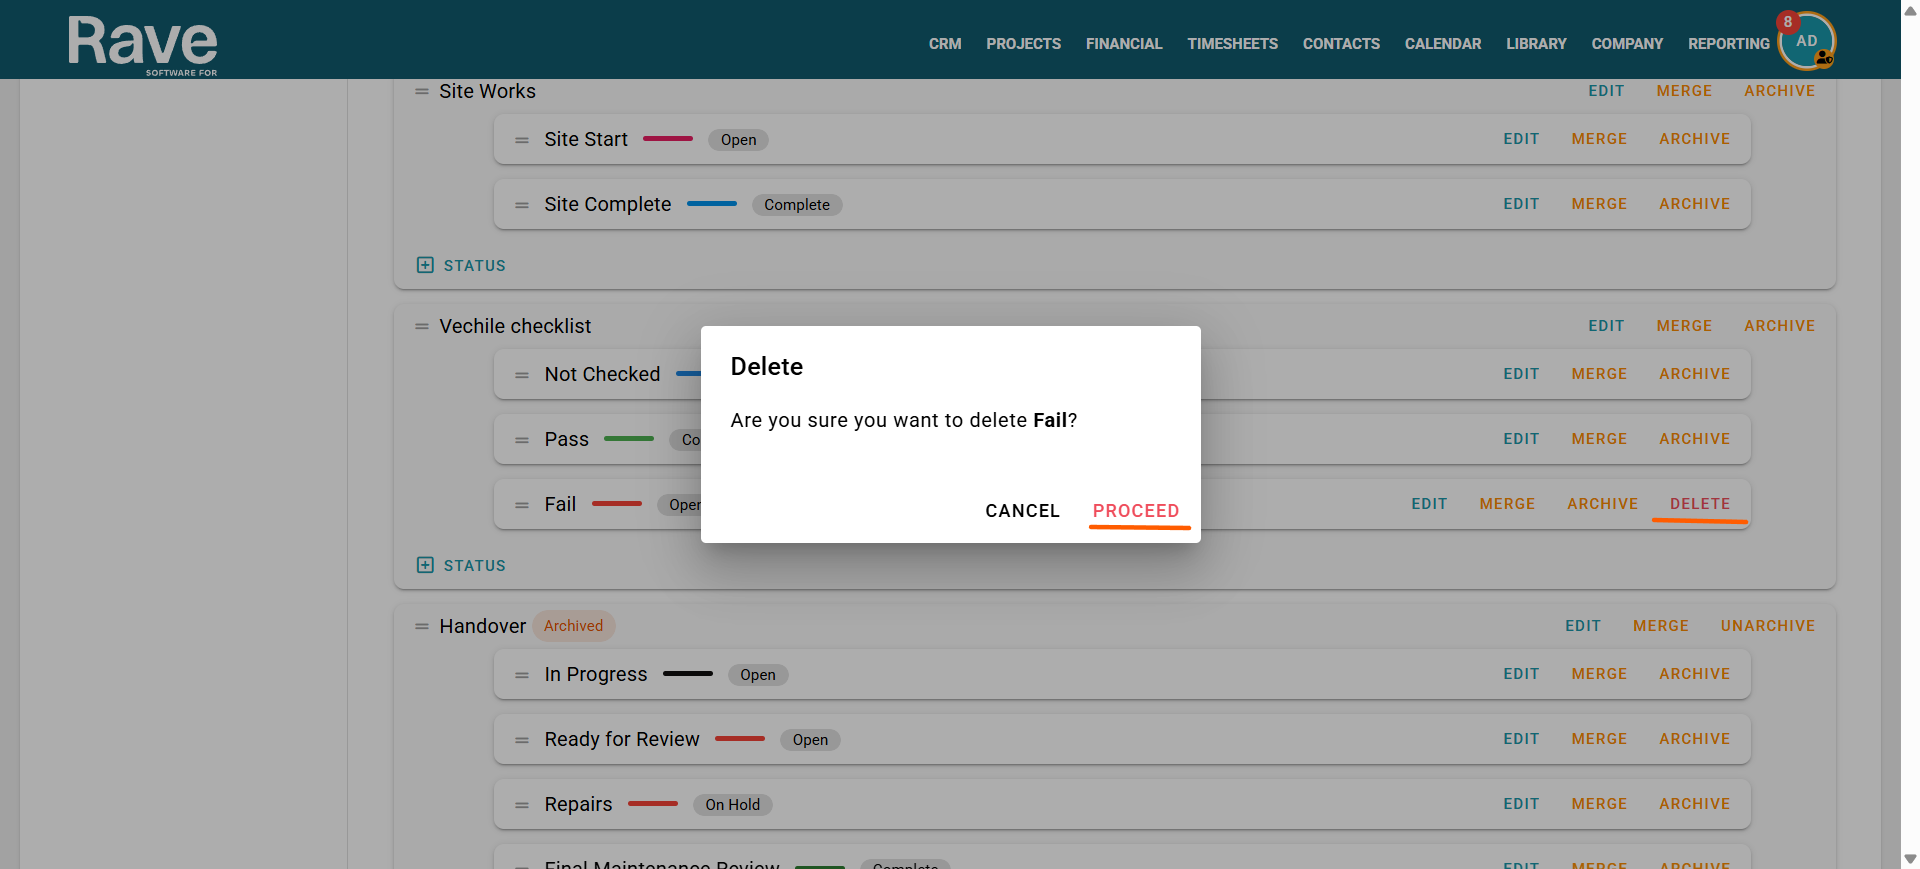
Some statuses may also display a Delete option.
Delete can only be used where a status has not been used before. If a status has already been used, you can only archive or merge so existing project information remains consistent.
Importing and Exporting Status Groups
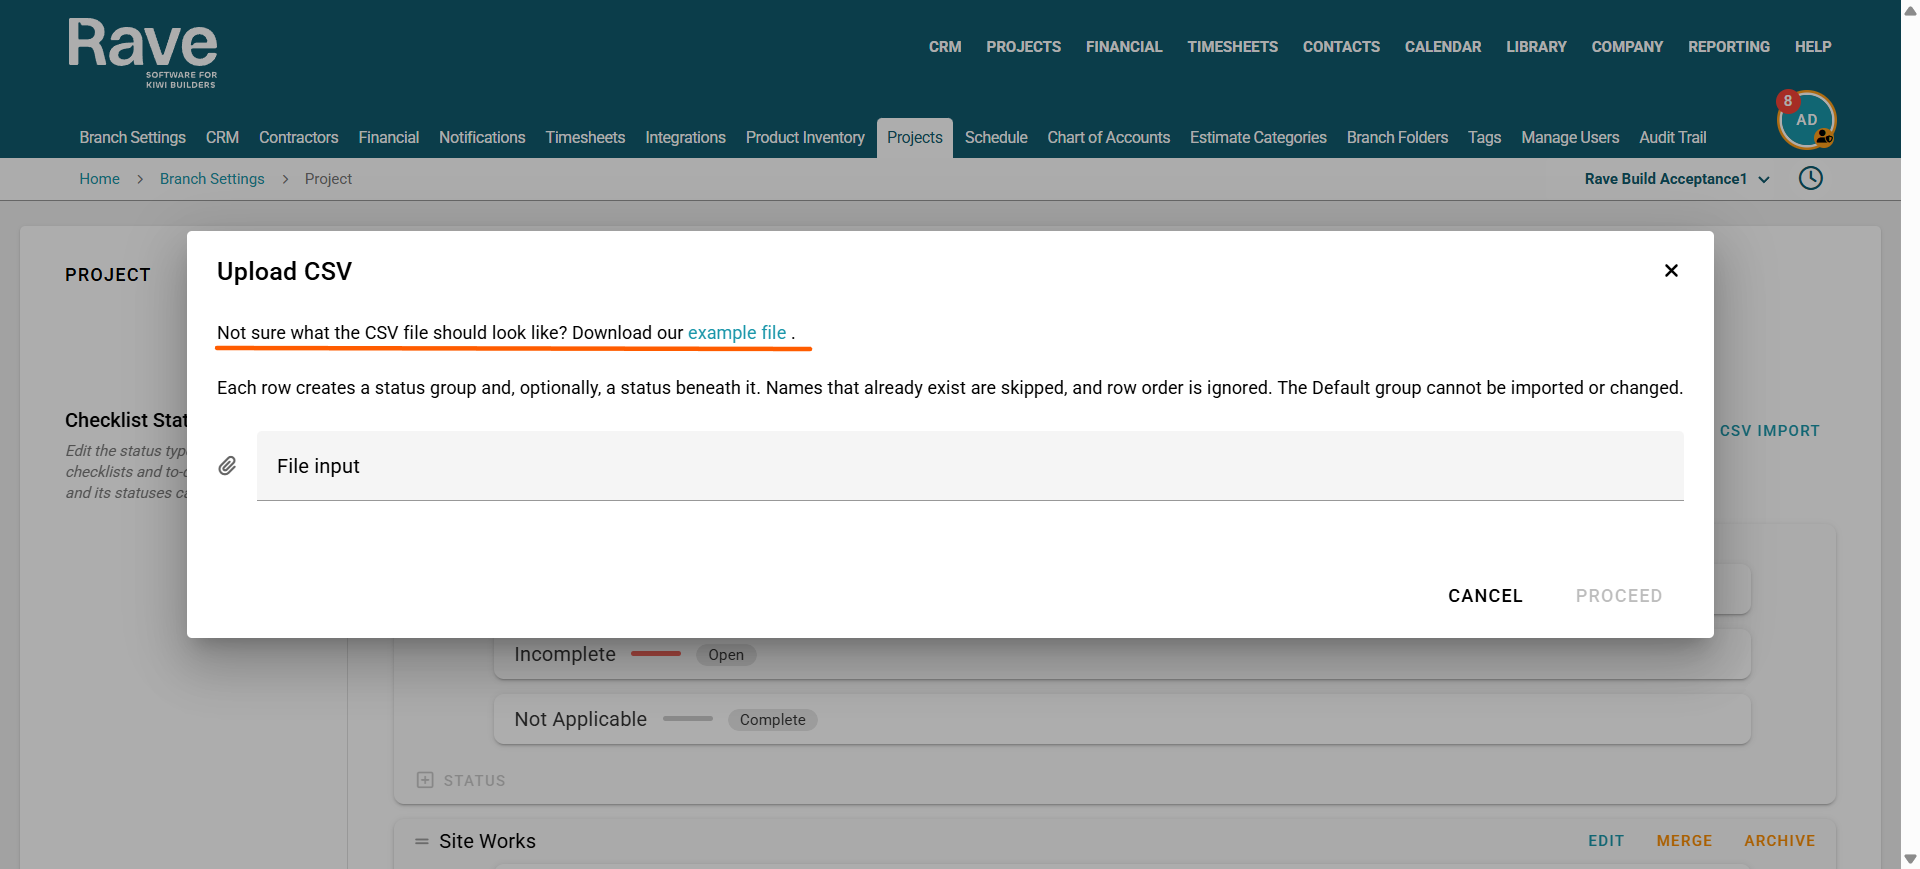
Checklist Status Groups can also be managed in bulk using the options at the top of the page.
Export to CSV allows you to export the current checklist status configuration.
CSV Import allows you to import checklist status information in bulk.
This can be useful when setting up a larger number of statuses or standardising checklist settings across branches.
The sample file for Checklist Status Groups import sits under the CSV import icon.
Using Status Groups on Checklists
Once Status Groups have been created, they can be used within your project Checklists and Todos.
This allows different checklist processes to have status options that make sense for the work being completed, while still providing consistent underlying status types for tracking progress.
For example, a vehicle checklist might use Not Checked, Pass, and Fail, while a handover checklist could use In Progress, Ready for Review, Repairs, and Final Maintenance Review.
Was this article helpful?
That’s Great!
Thank you for your feedback
Sorry! We couldn't be helpful
Thank you for your feedback
Feedback sent
We appreciate your effort and will try to fix the article