RAVE’s Financial Management System includes Branch-Level Financial Document Level options. This article will focus on Invoices and Invoice Credit notes.
There are also articles on Bills/Credit Notes here, Quotes and Variation Quotes here, and Purchase Orders here.
Branch Invoices allows you to view all client invoices and invoice credit notes created across your entire business. You can also create project-level invoices not linked to Progress Claims or charge up from this page, too.
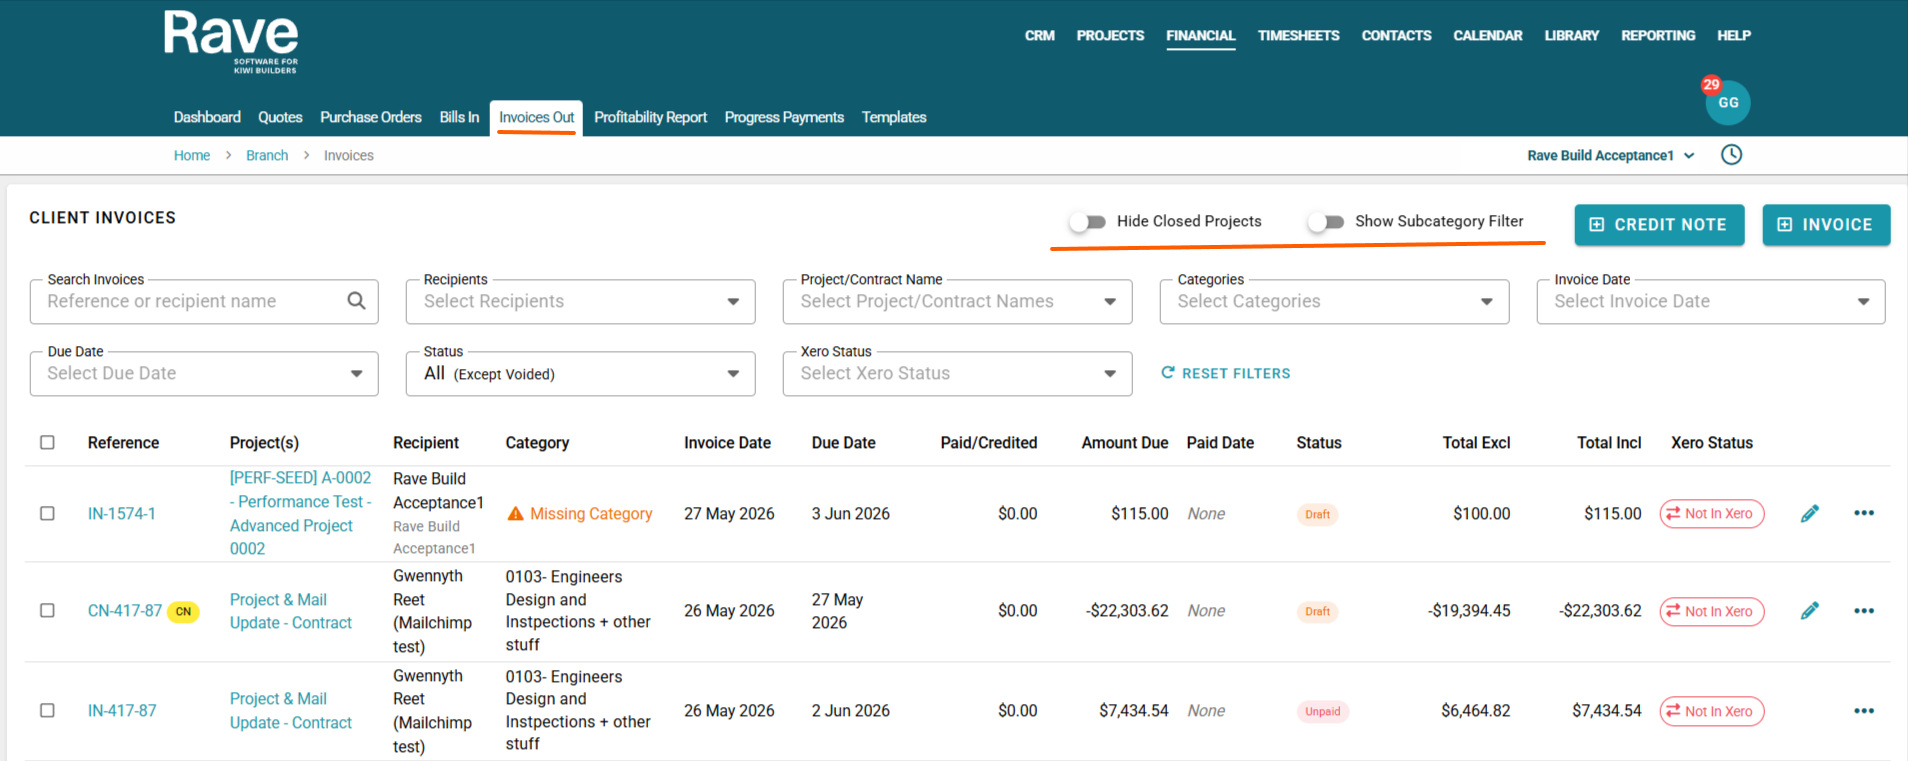
If your RAVE system has the optional Financial Management System module activated and you have the correct permissions, you’ll find the Branch-Level Invoices subtab accessible via the Financial button.
This page displays all active project Invoices and credit notes in the business.
You can use the Search box to search for the Invoice or Credit note Reference as well as the Recipient Name.
Filters along the top allow filtering by Recipients, Project/Contract Name, Category, Invoice/Credited Date, Due Date, Document Status, and, if connected to Xero, Xero status.
There are also sliders to show/hide Closed Projects and Sub-categories.
Adding a Branch-Level Invoice from Scratch
The workflow for adding a Branch-Level Bill is the same as for adding one at the project level, except that you don't select a project.
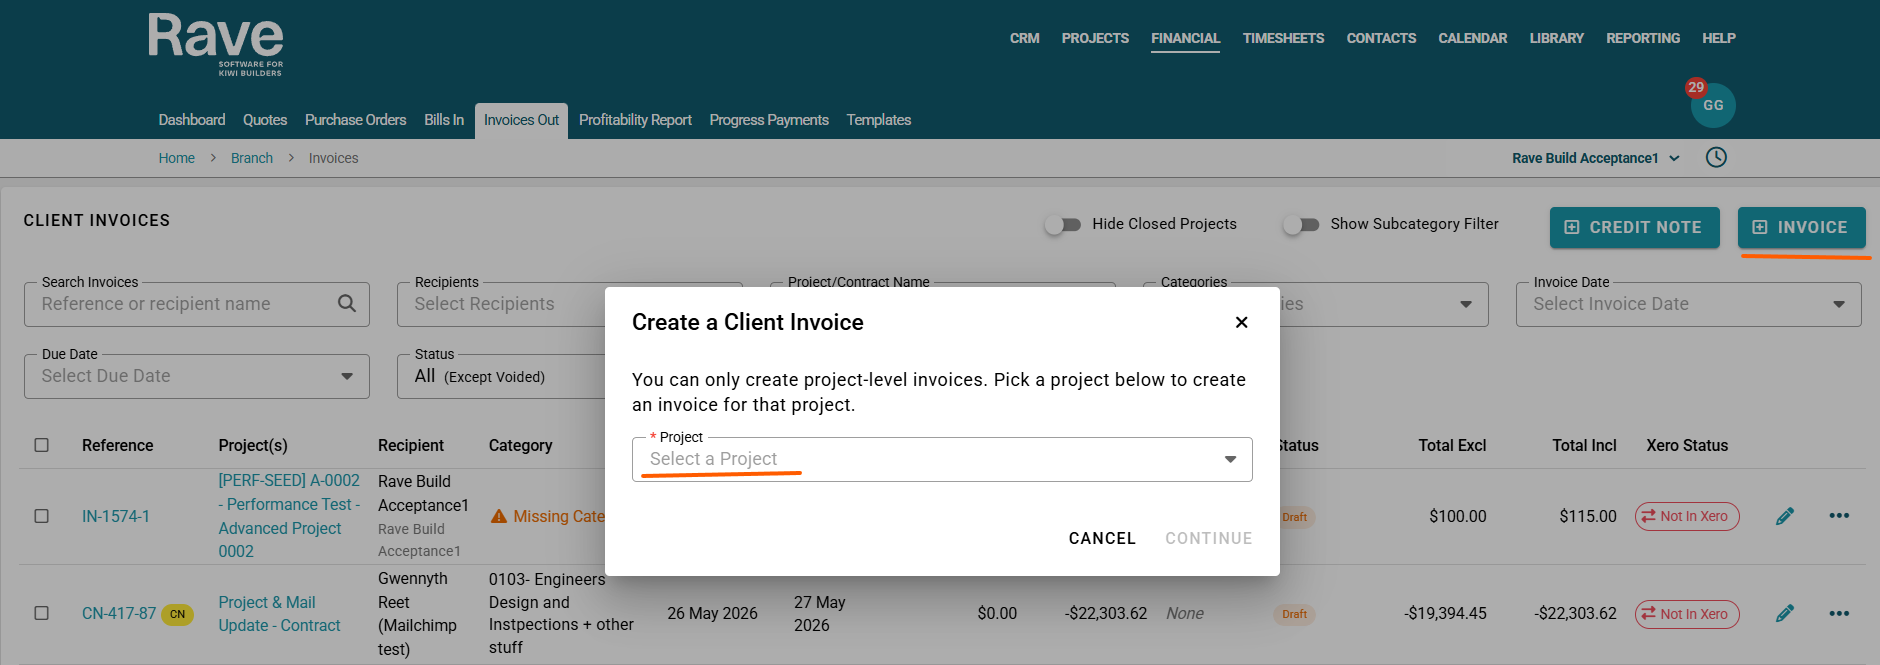
Click the +invoice button.
Select the Project you wish to create the invoice for and select Continue.
Rave will redirect you to the invoice-creation model within the project.
You can now complete all the steps like you normally would to create an invoice from Scratch.
Select the Recipients (Clients or Contacts if it's an on-charge Invoice to a supplier)
Leave the invoice reference blank, and Rave will create a sequential one for this project
Select the invoice date
Enter the custom Invoice Reference if you need to
Select the Category and Sub Category
Ensure you choose the right Tax type, usually either Exclusive for the whole Document or inclusive, depending on how you invoice your chosen Recipient.
Select the Due date
Attach your attachments by clicking the cloud icon or dragging and dropping the file.
Enter any invoice instructions that go into the Xero invoice when connected and/or on the accounts email that gets sent.
Enter the Line Item information, making sure to double-check qty, pricing, and markup, if applicable.
Once completed, you can Save as a Draft or Approve.

Your invoice is then added to the Branch Level Invoice Out tab.
To load an Invoice Credit Note, click +Credit Note, and you would follow the same steps from above.
Do not enter the Credit amount as a negative value, as Rave already knows the item is a credit.
If you have a restocking fee on the credit note, enter it as a negative dollar amount, since you won't be getting that portion credited.
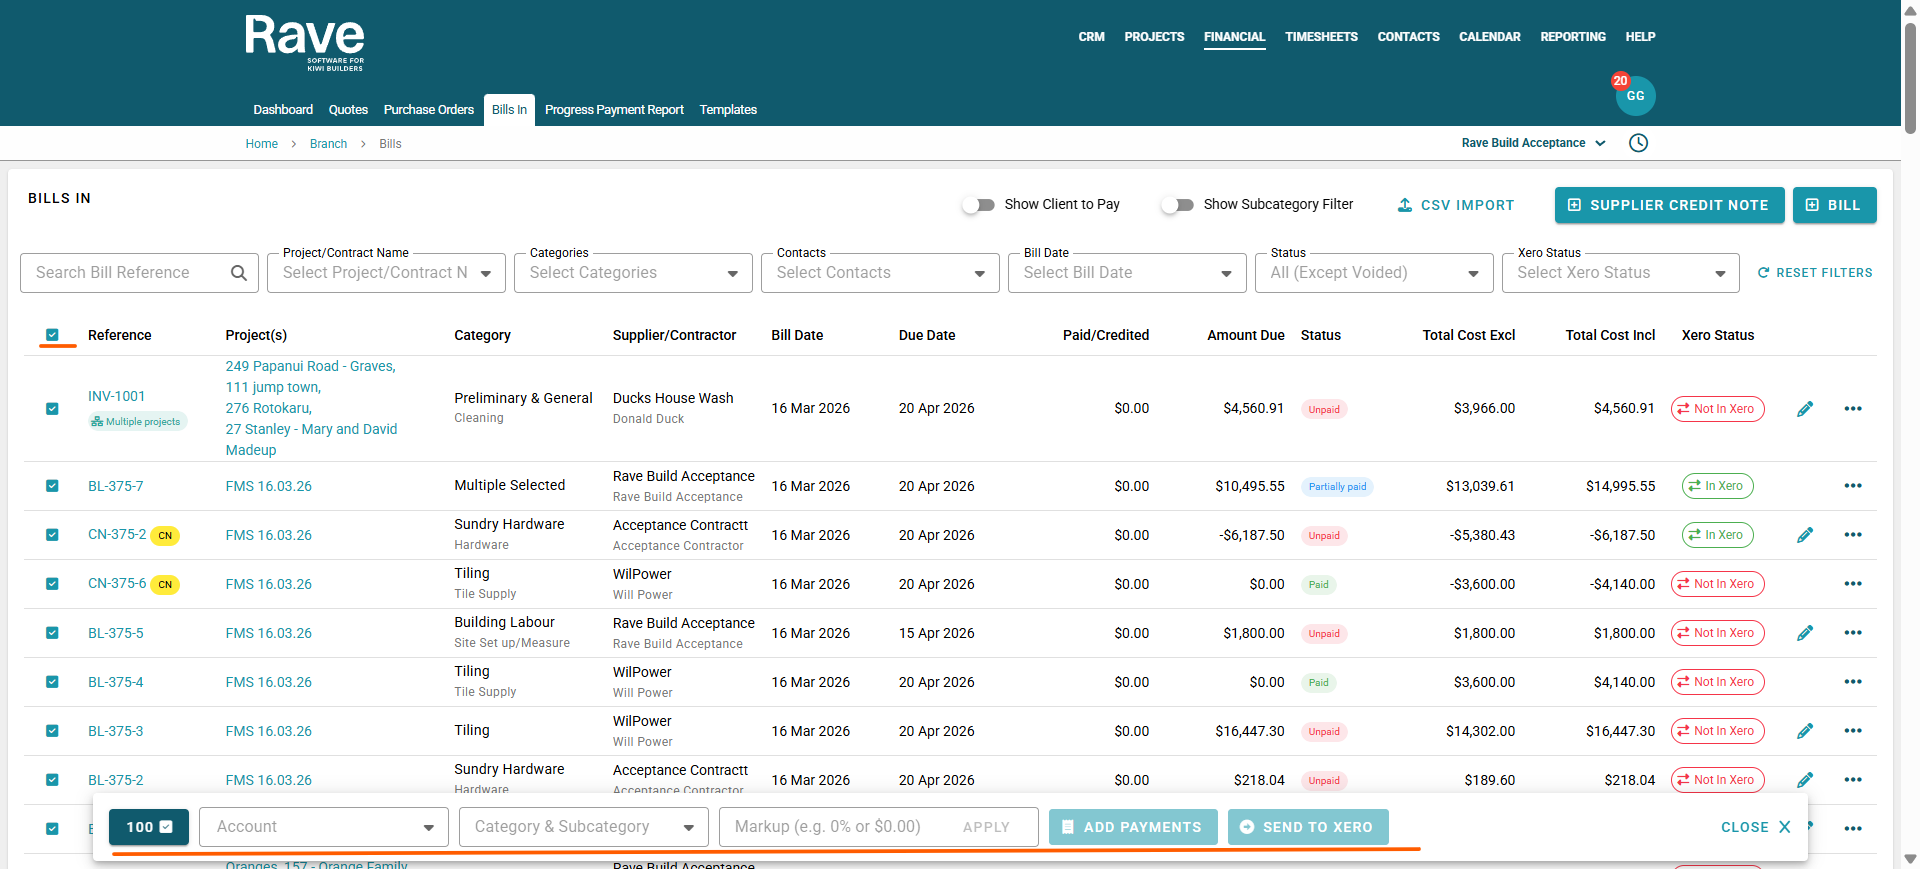
The bulk action bar on the Branch Bills page allows you to bulk update Chart of Account Codes, Category and Subcategory across all documents you select. Certain features wont work depending on if the project is open/closed and paid/unpaid.
With Xero payment syncing enabled, the Add payment and View/Remove option will be disabled, and if the documents are already in Xero or a mix of in Xero and not in Xero, the Send to Xero option will be disabled.
The three-dot ellipse beside each document allows you to:
View in Xero to see if the document is already showing there.
Send to Xero if the document is showing as not in Xero
Void if there are no payments or credits associated with the document.
Approve if the document is in Draft only
Delete if the document is in Draft only
Add a Payment (with Xero Payment Syncing Disabled only)
View/Remove a Payment (with Xero Payment Syncing Disabled only)
Was this article helpful?
That’s Great!
Thank you for your feedback
Sorry! We couldn't be helpful
Thank you for your feedback
Feedback sent
We appreciate your effort and will try to fix the article