The following is the recorded version of the help article outlined below.
Integrating RAVE FMS with Xero allows you to sync your Chart of Accounts, manage payments, link project tracking and more.
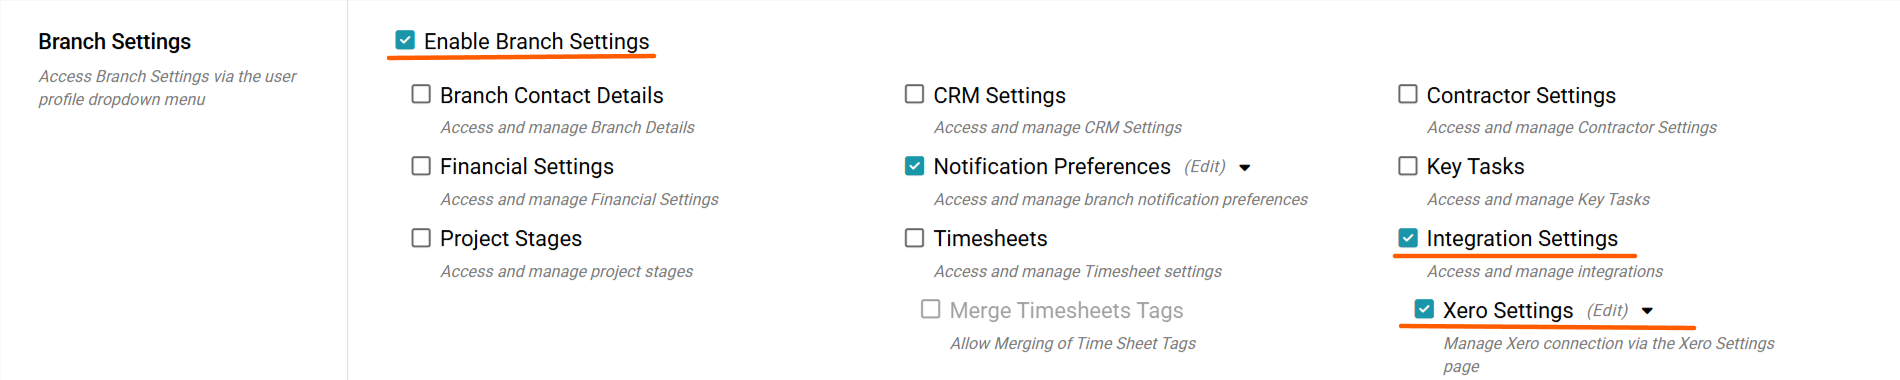
You must have the Branch Settings - Integration - Xero permission enabled in order to complete this setup. If you don't see this option, contact your branch owner or Rave Support.
Our Previous Article stepped you through how to connect to Xero. You can read that article here.
We will now run through the Xero Setting Options.
Click your Profile dropdown in RAVE.
From the Branch Settings menu, select Integrations
If you don’t see this option, contact your Business Owner for access permissions.
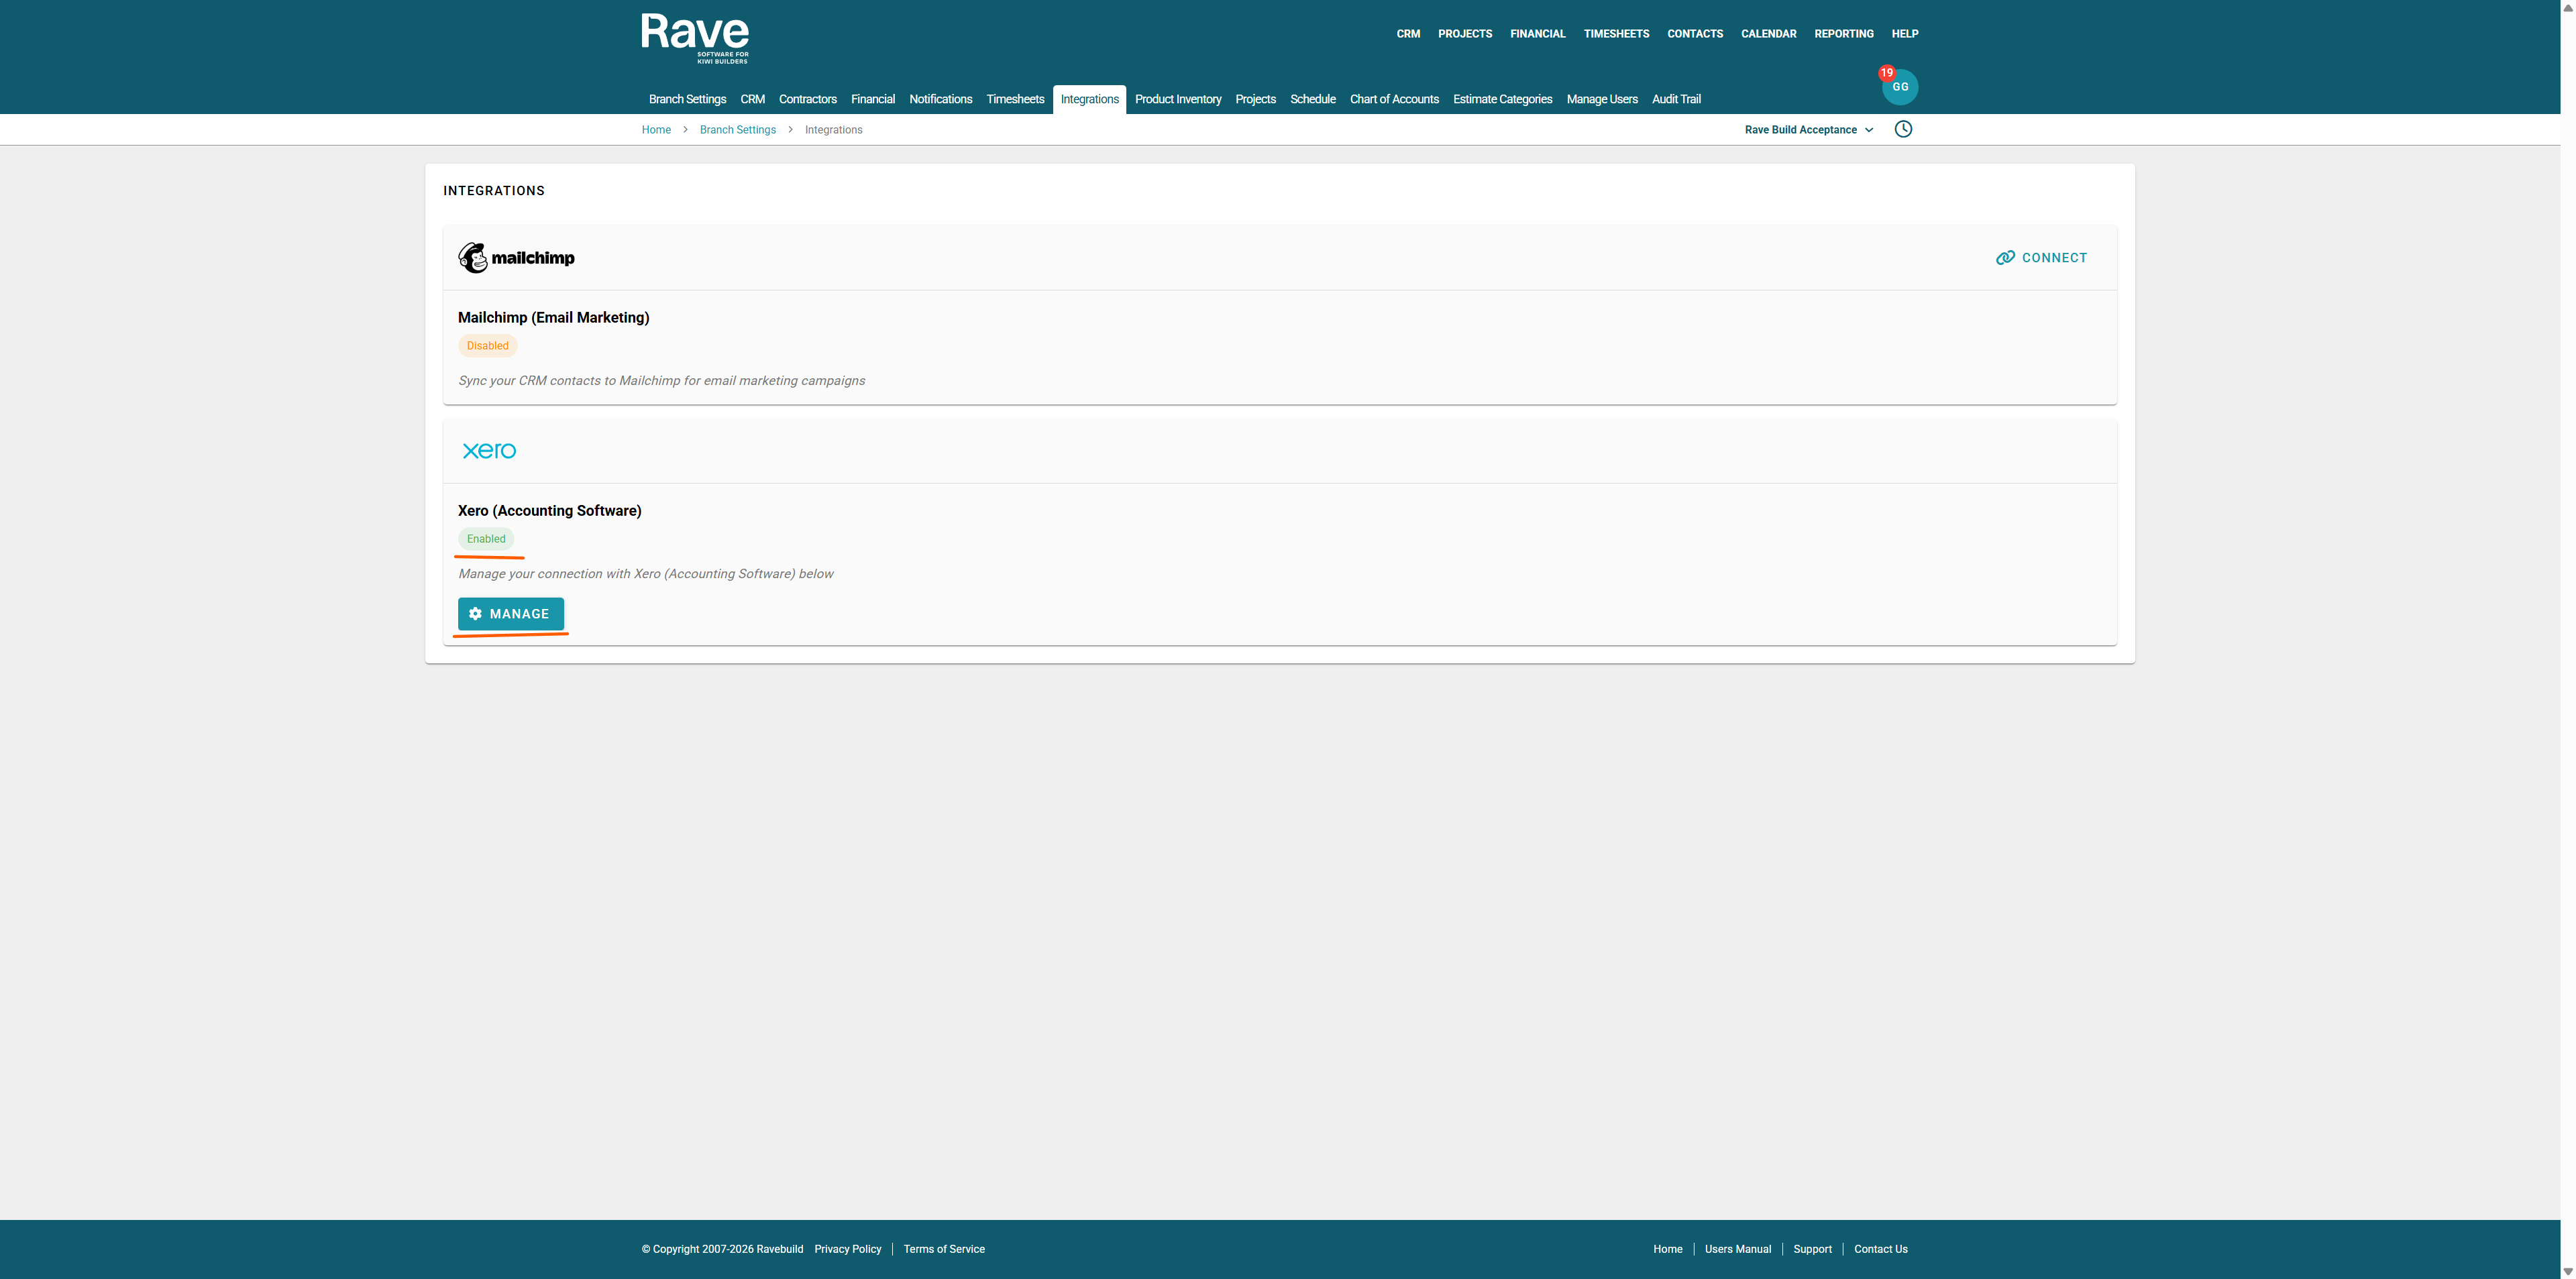
Once in Integrations, find the Xero and click Manage.
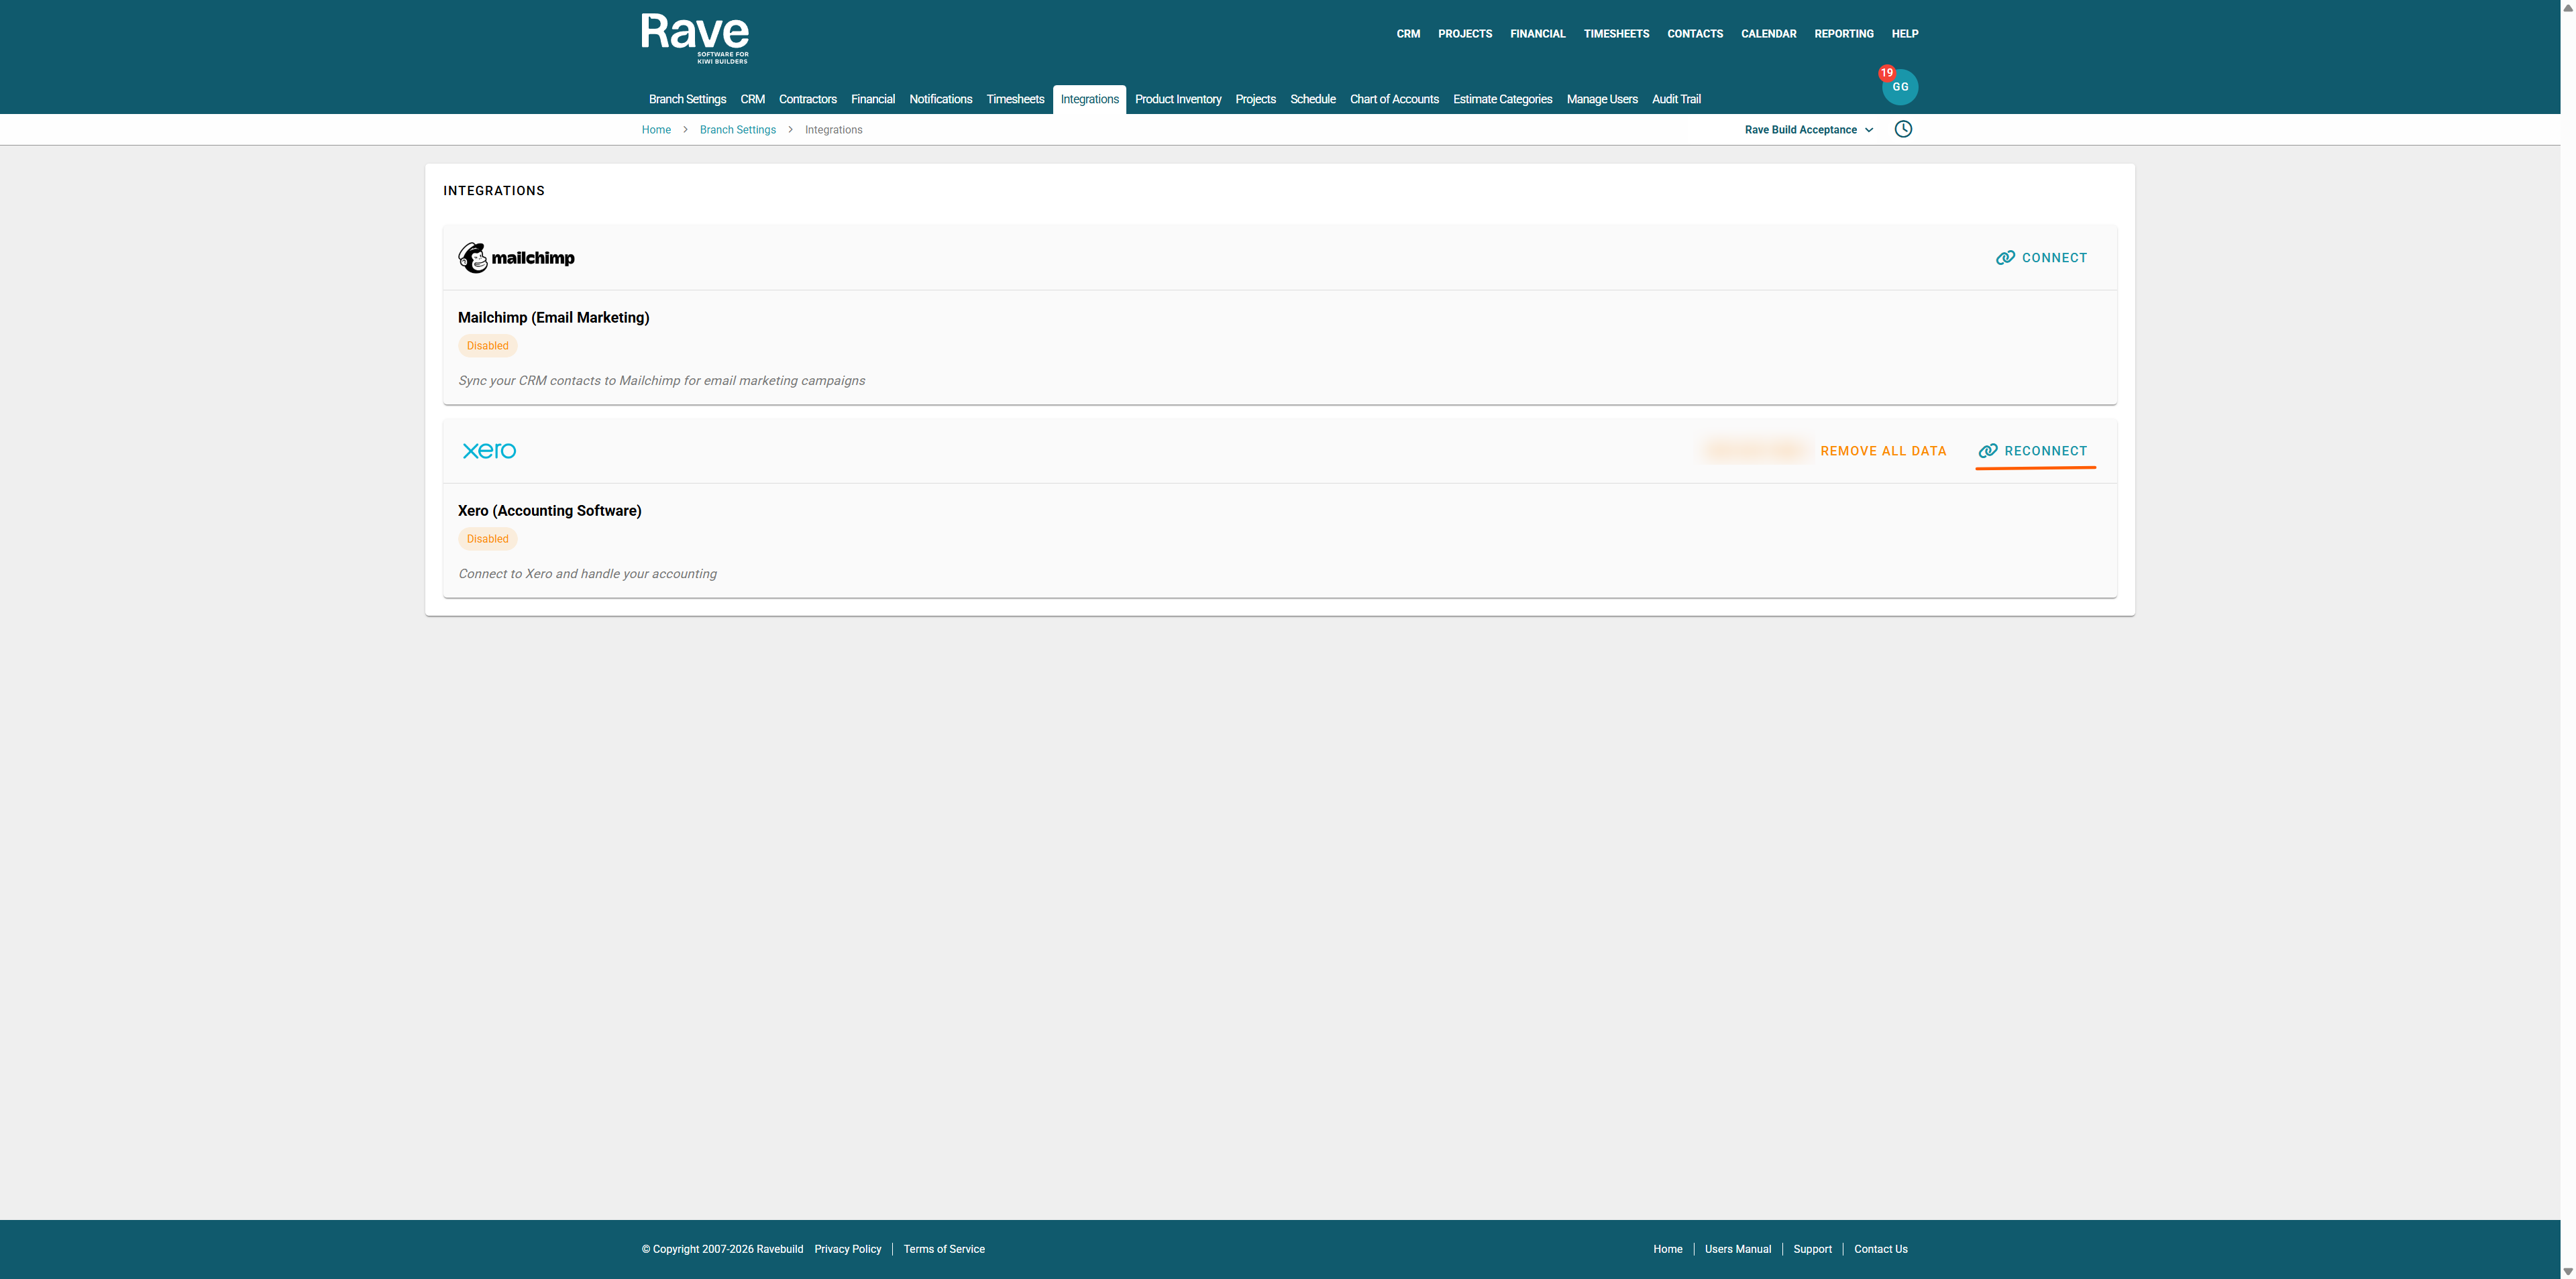
At the top right of the Page is the Disconnect Button. This will remove the link between Rave and Xero for all users in your branch and must be manually reconnected.

Click the Reconect Button and follow the steps to reconnect your Branch to Xero.
Click your Profile dropdown in RAVE.
From the Branch Settings menu, select Integrations
If you don’t see this option, contact your Business Owner for access permissions.
Once in Integrations, find the Xero and Press Manage.
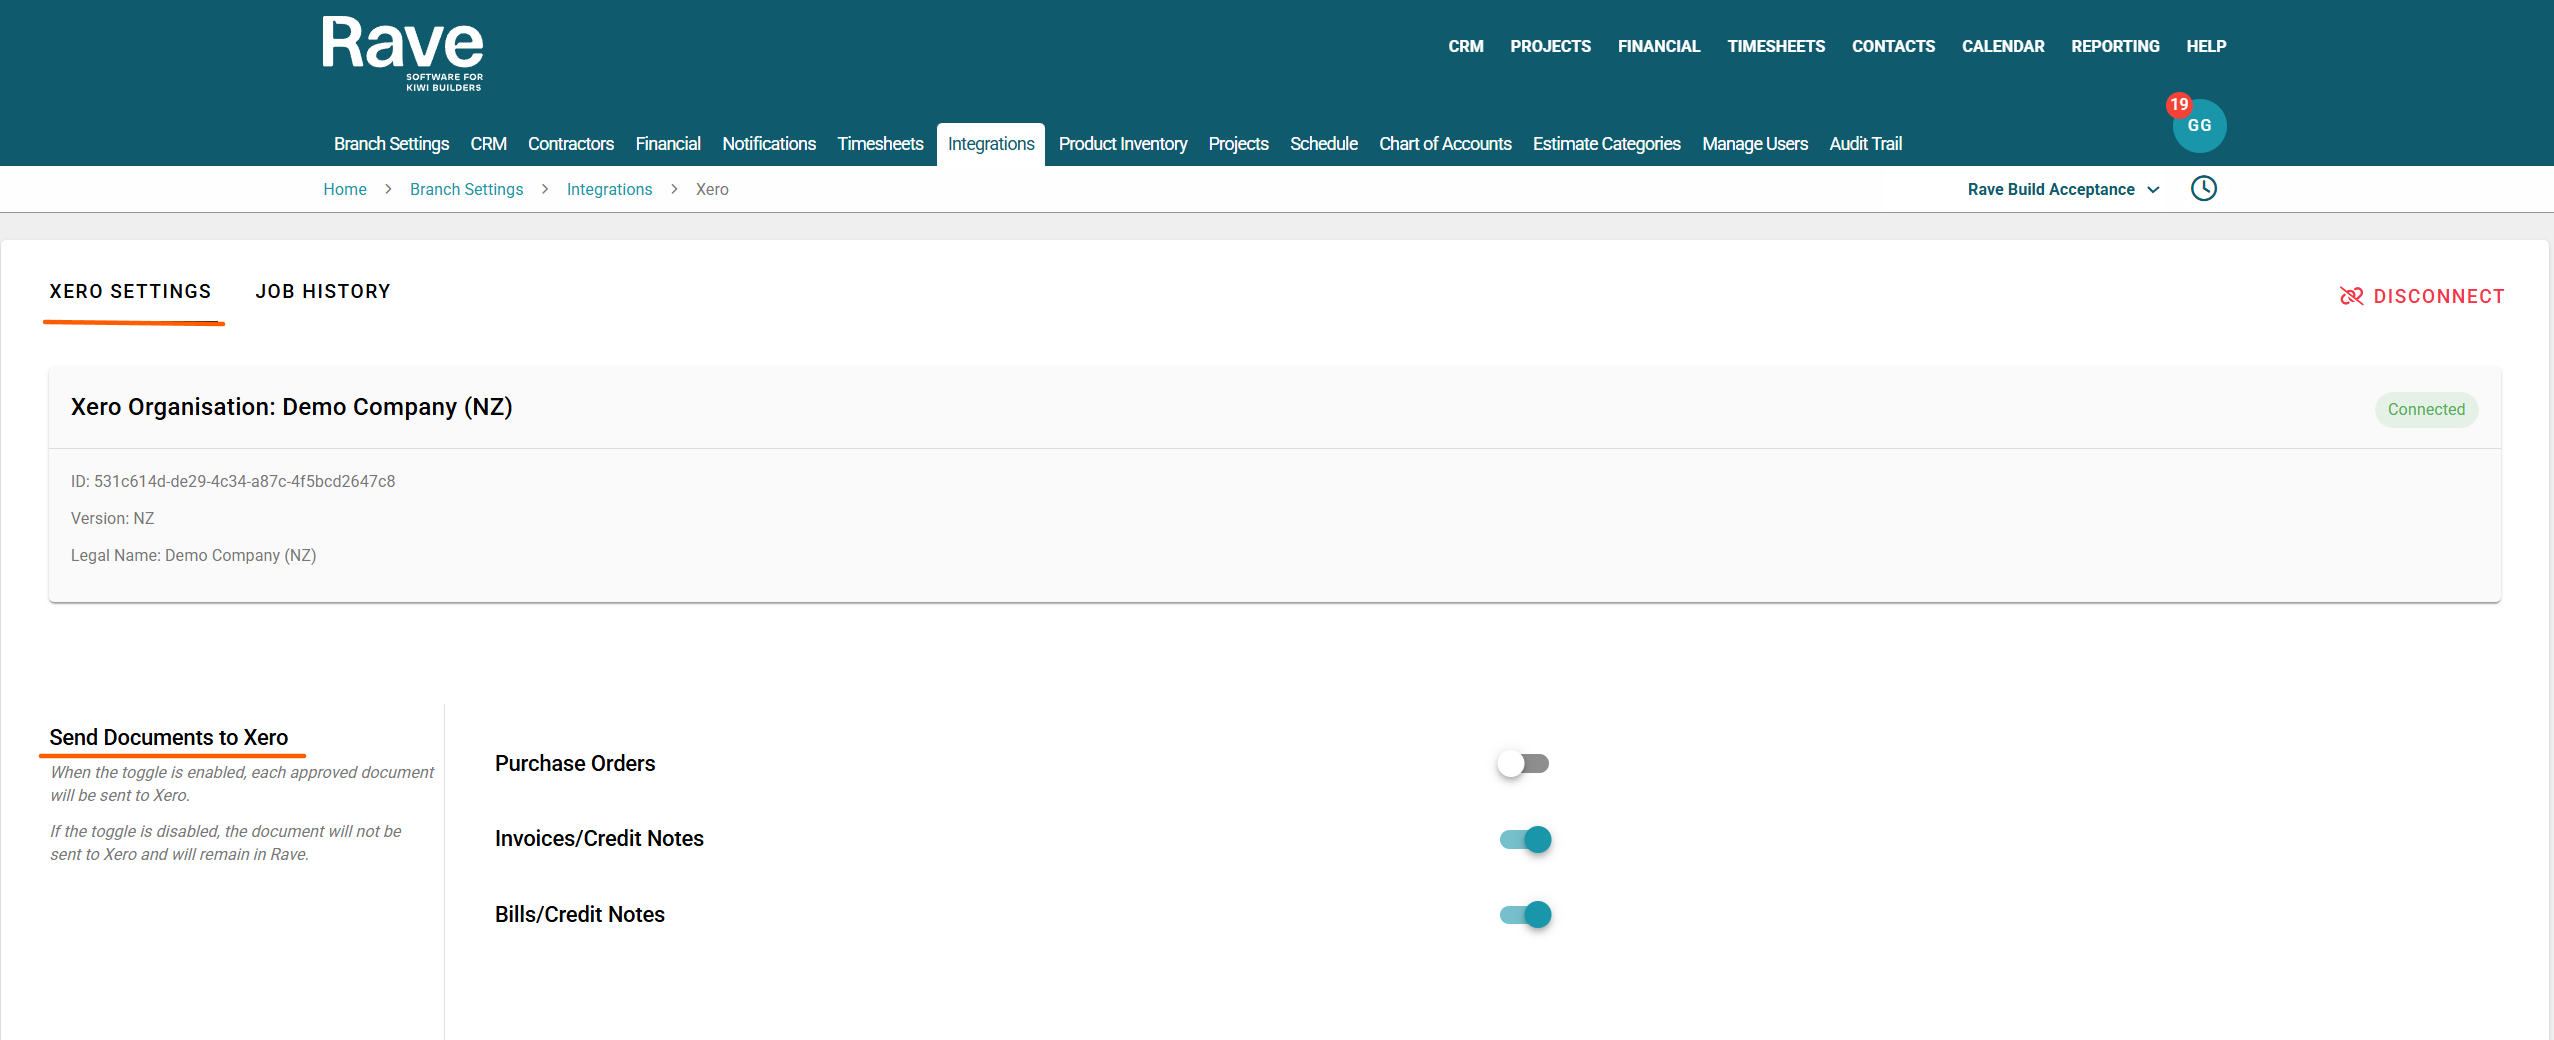
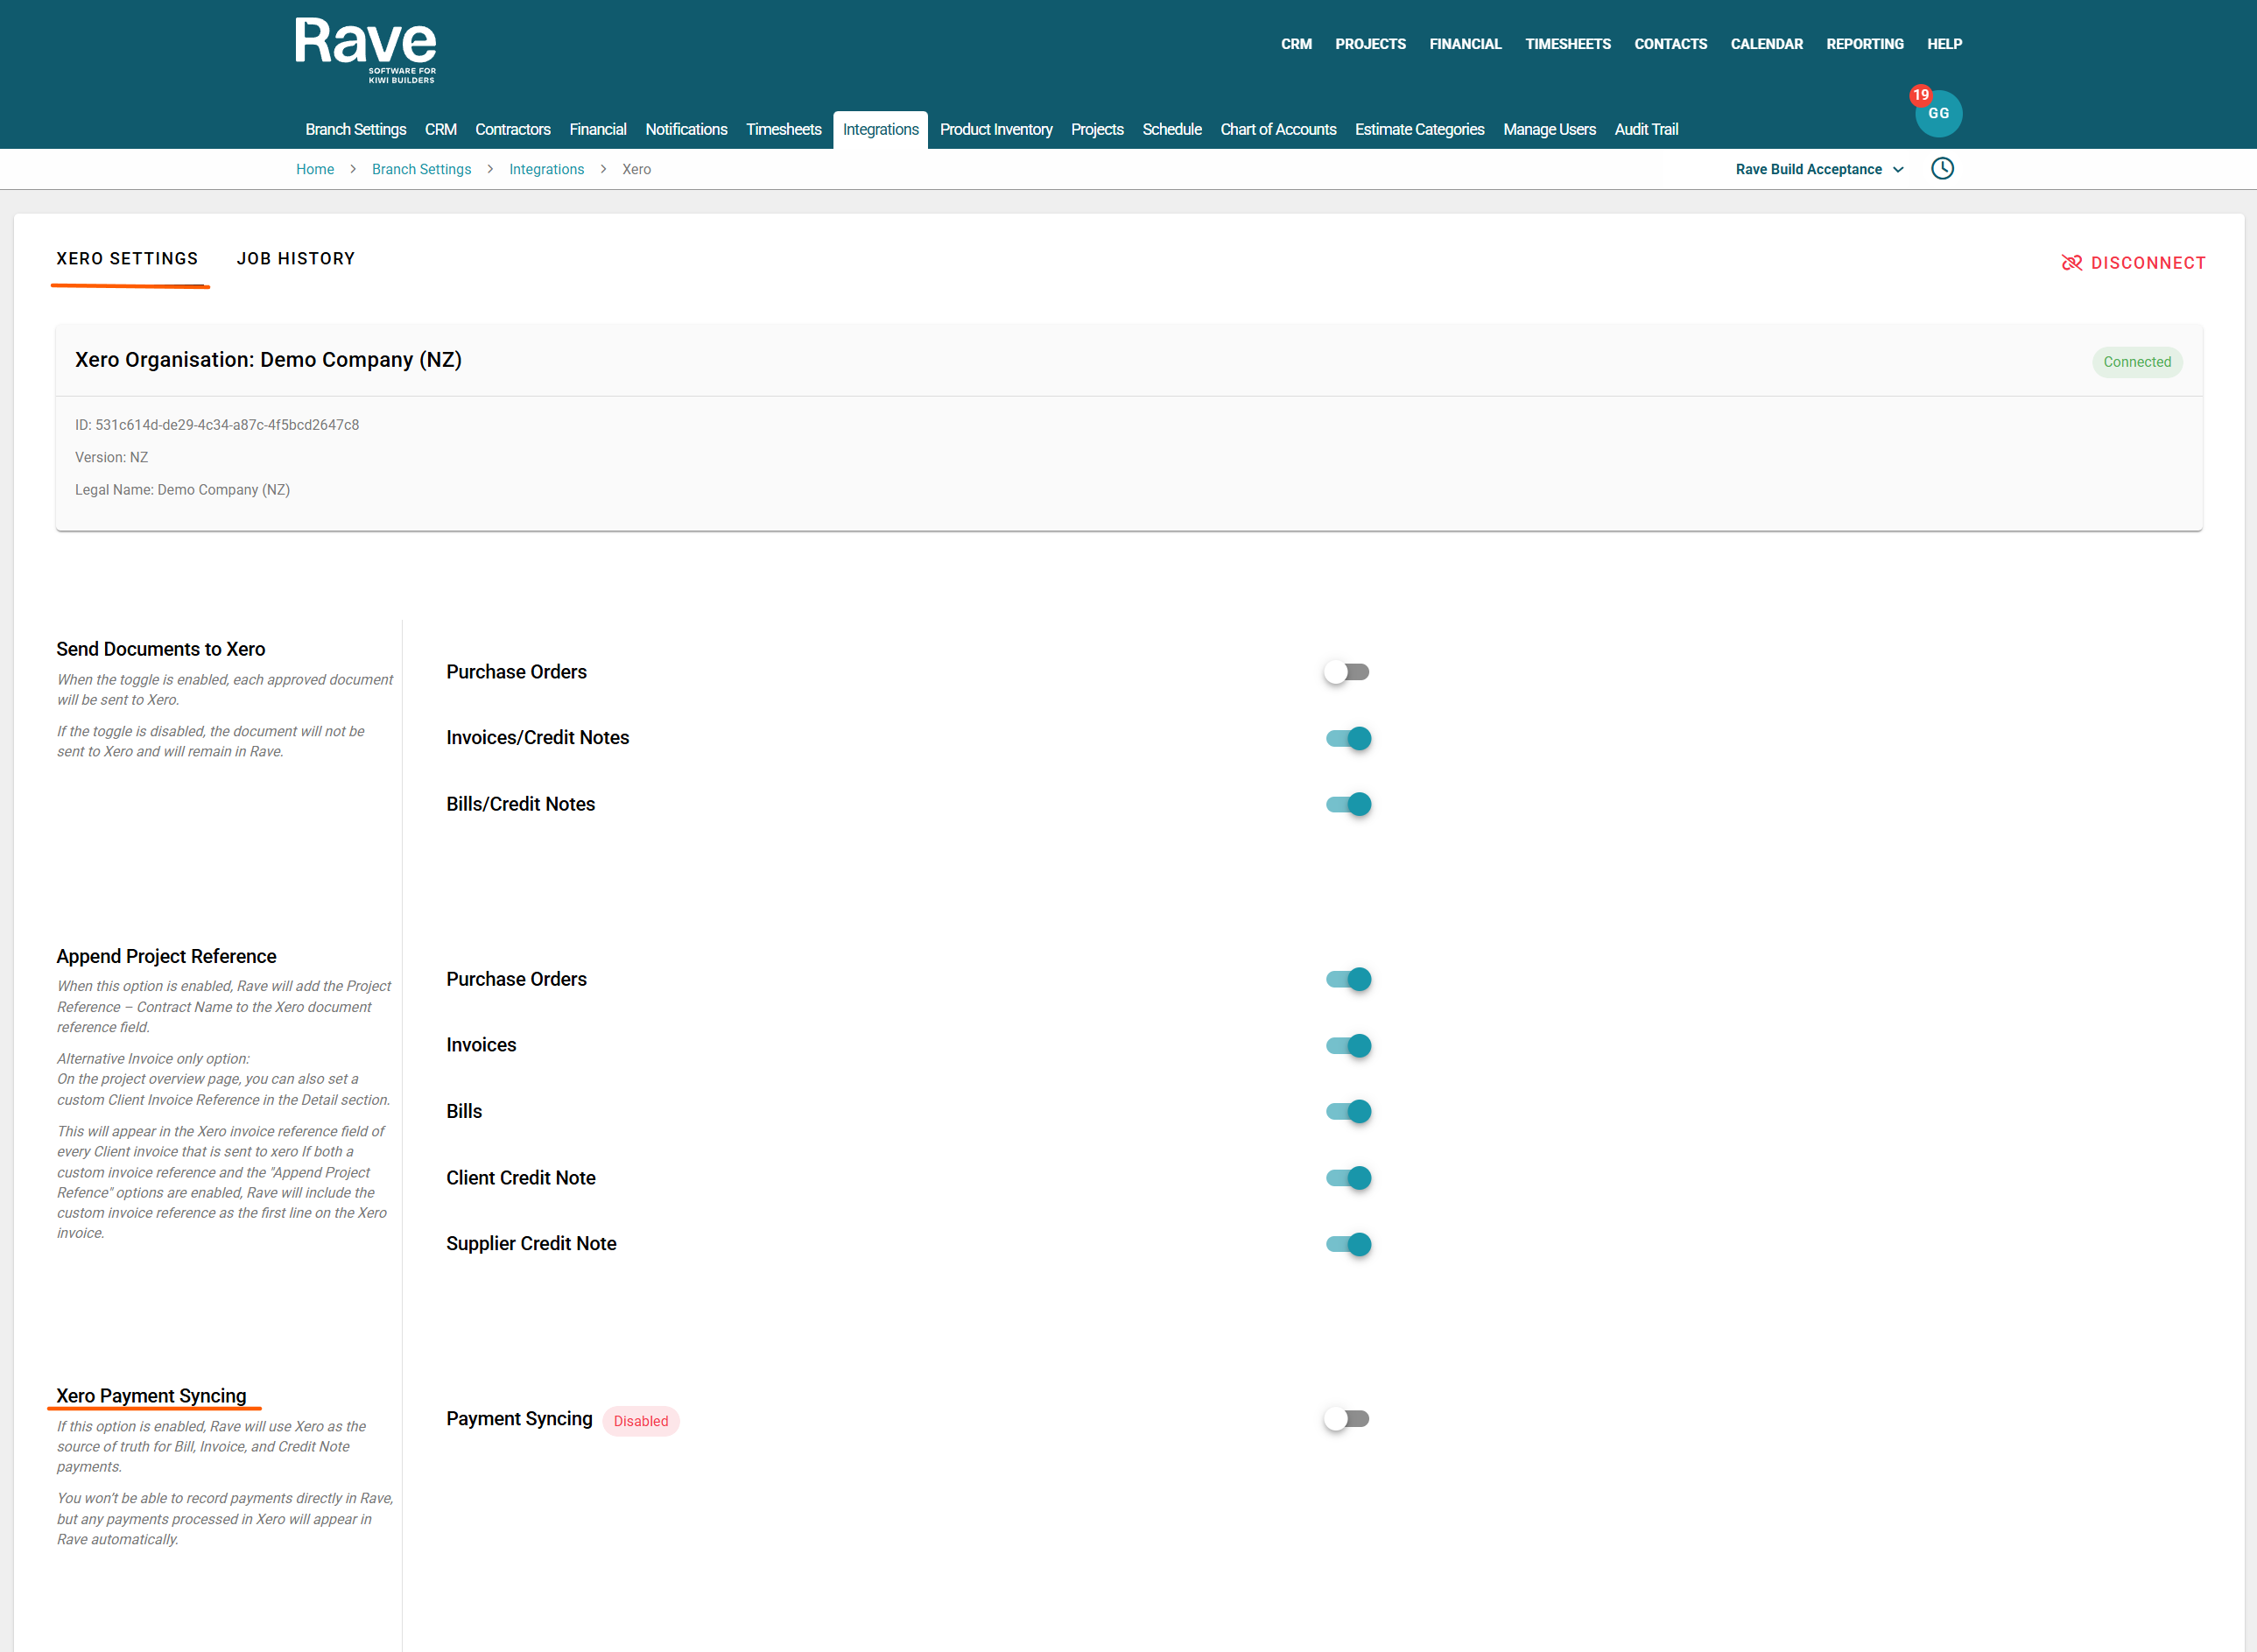
The Xero Settings Tab allows you to choose a range of Xero and Rave integration options.
Send Documents to Xero
Once RAVE is connected to Xero, you can choose which types of documents to send through to Xero.
We recommend enabling only the Invoices and Bills option.
This setting will send the following to Xero:
- Client invoices/Credit Notes
- Supplier bills/Supplier Credit Notes
Since all document reconciliation is handled within RAVE, we do not recommend sending Purchase Orders to Xero. These are not used or managed within Xero and will not be sent from Xero either.
Append Project Reference
You can now choose which document types you want to have your Project Reference automatically appended to. And choose if you also want to add the contract name as well.
For quick reference, we recommend enabling this option only if you are not using Project.
When enabled, the Project Reference and, if chosen, the Contract Name will be added to the Reference field in Xero, making it easy to identify which job each document relates to when reviewing in Xero.
You can choose to enable this feature for any of the following document types:
- Purchase Orders
- Invoices
- Bills
- Client Credit Notes
- Supplier Credit Notes
Simply slide the toggle on for any document type you want the Project Reference included with.

Custom Invoice Reference
On the project page, you can use a custom Client Invoice reference as well. This reference will go in the Xero Invoice reference field. If you have both a custom Invoice reference and an appended job number in use, we will add the custom Invoice reference to the Xero Invoice as line 1 on the Invoice
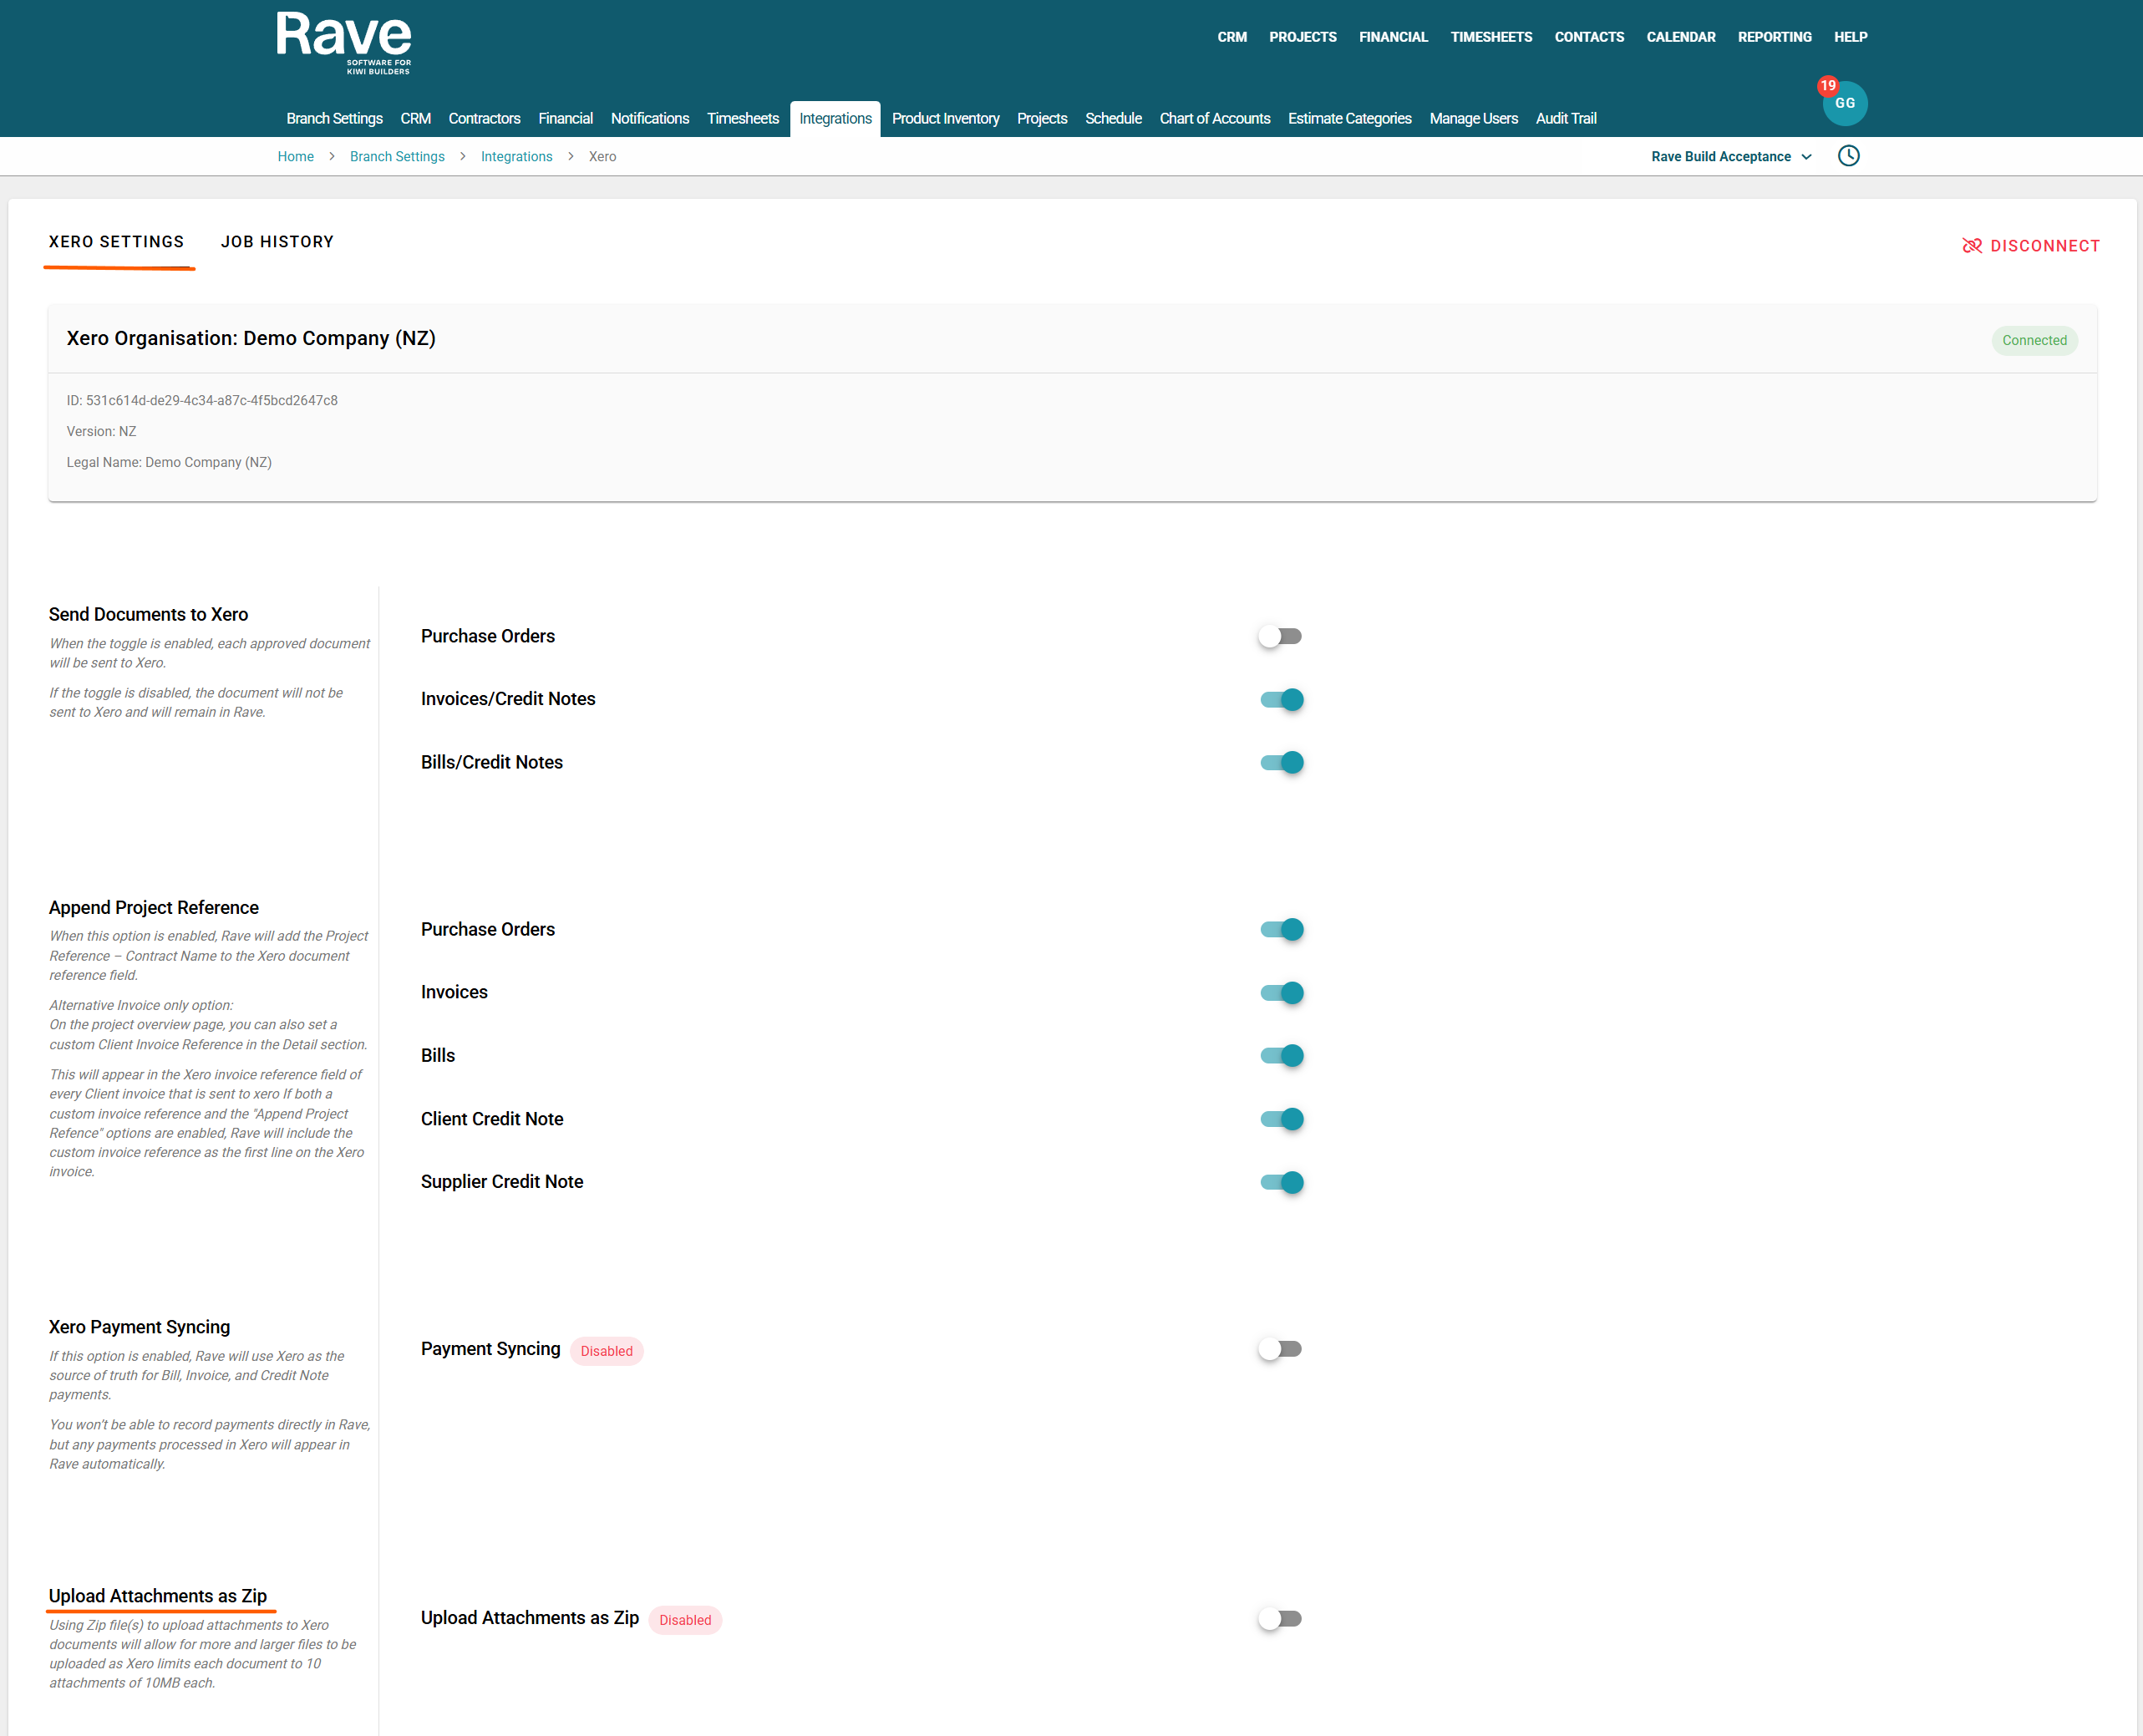
Xero Payment Syncing
If this option is enabled, Rave will use Xero as the source of truth for Bill, Invoice, and Credit Note payments. You won’t be able to record payments directly in Rave, but any payments processed in Xero will appear in Rave automatically. To read the full help article on Payment Syncing, please click here.
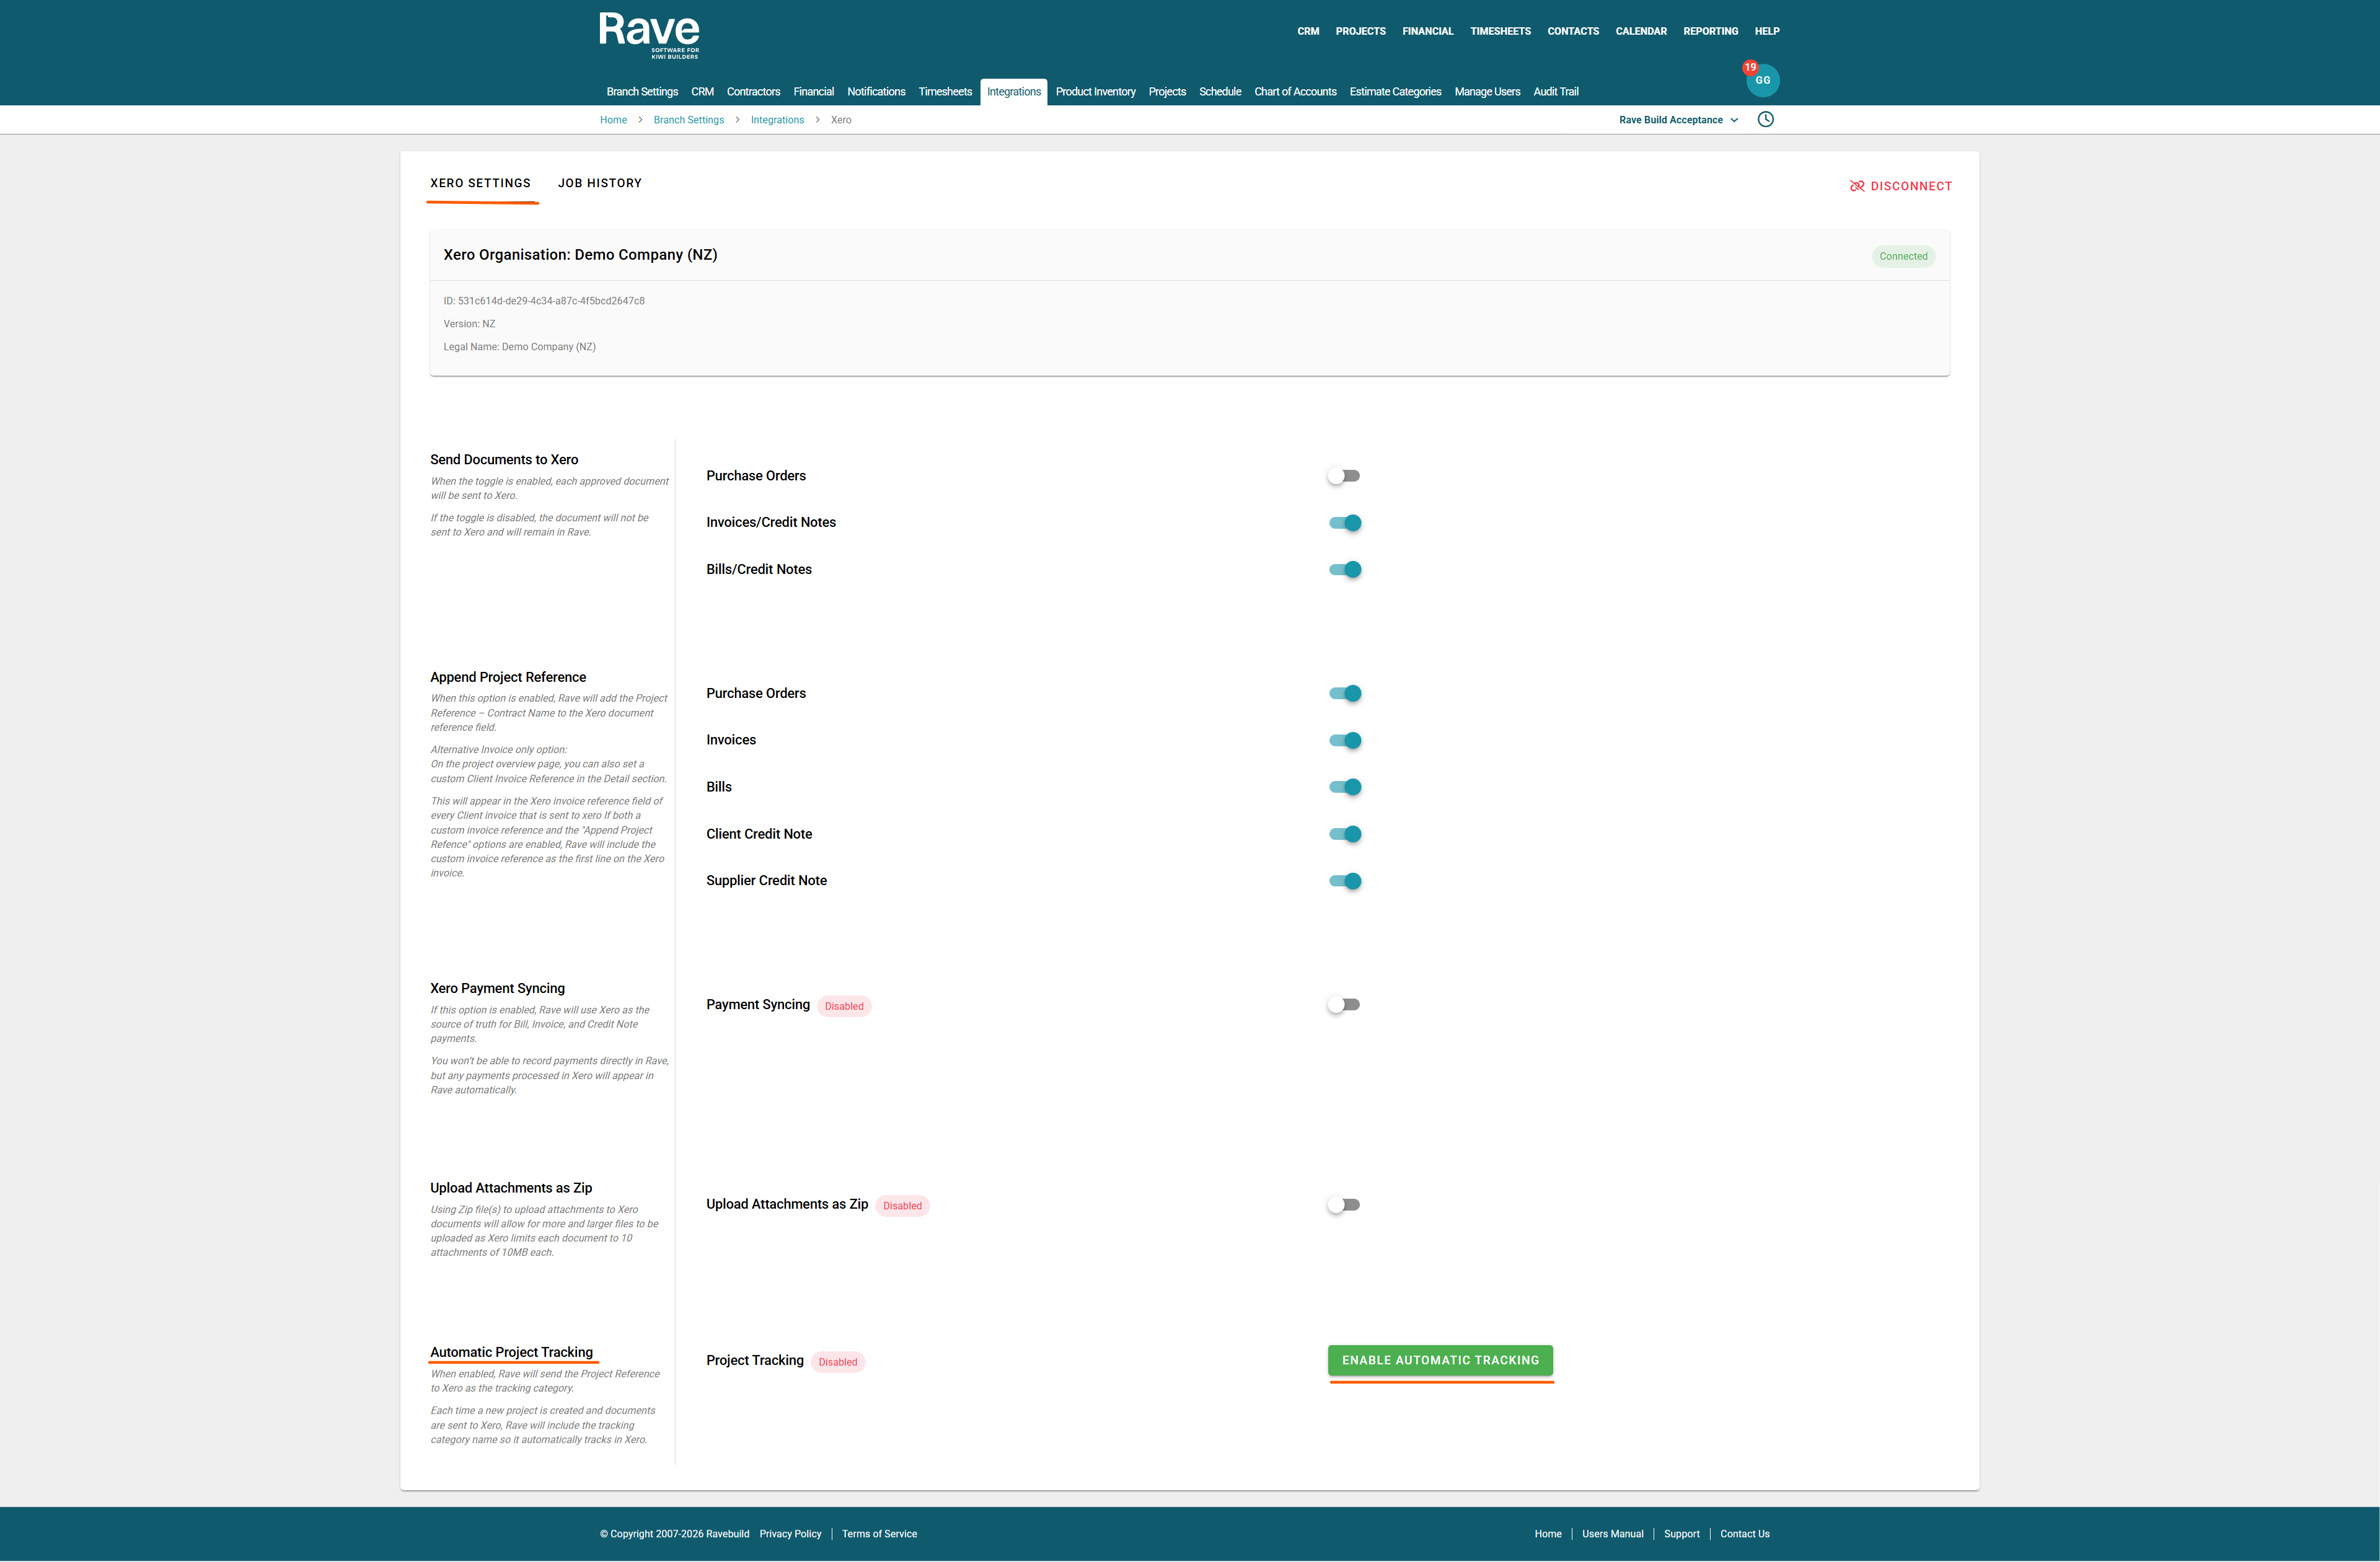
Upload Attachments as Zip
When converting Supplier Bills/Credit notes to client Invoices/Credit Notes, you can choose to send the original attachments with the invoice/credit note by enabling this slider. If the attachments exceed the Xero limit of 10 attachments and 10MB the zip file will create and attach to the xero invoice to ensure documents arent missed.
Automatic Project Tracking
When enabled, Rave will send the Project Reference to Xero as the tracking category.
Each time a new project is created, and documents are sent to Xero, Rave will include the tracking category name, so it automatically tracks in Xero. To read the full help article on Project Tracking, please click here.
Was this article helpful?
That’s Great!
Thank you for your feedback
Sorry! We couldn't be helpful
Thank you for your feedback
Feedback sent
We appreciate your effort and will try to fix the article