Every user can access to their own mail Templates from their Profile Dropdown.
Depending on access/permission you will see both Enquiry and Project Templates.
Note: Timesheet, Site Staff, Site Manager and Contractors will not have CRM Templates as they do not have access to this feature.
These templates are Only User level templates.
To locate Branch templates for CRM the help article is here.
To locate Branch templates for Projects the help article is here.
With permission users will also have access to other users templates to.
Click on your Profile Drop Down
Under Profile Settings select Templates
Here you will see All, Enquiry Mail and Project Mail Templates (provided you have access to CRM and Projects).
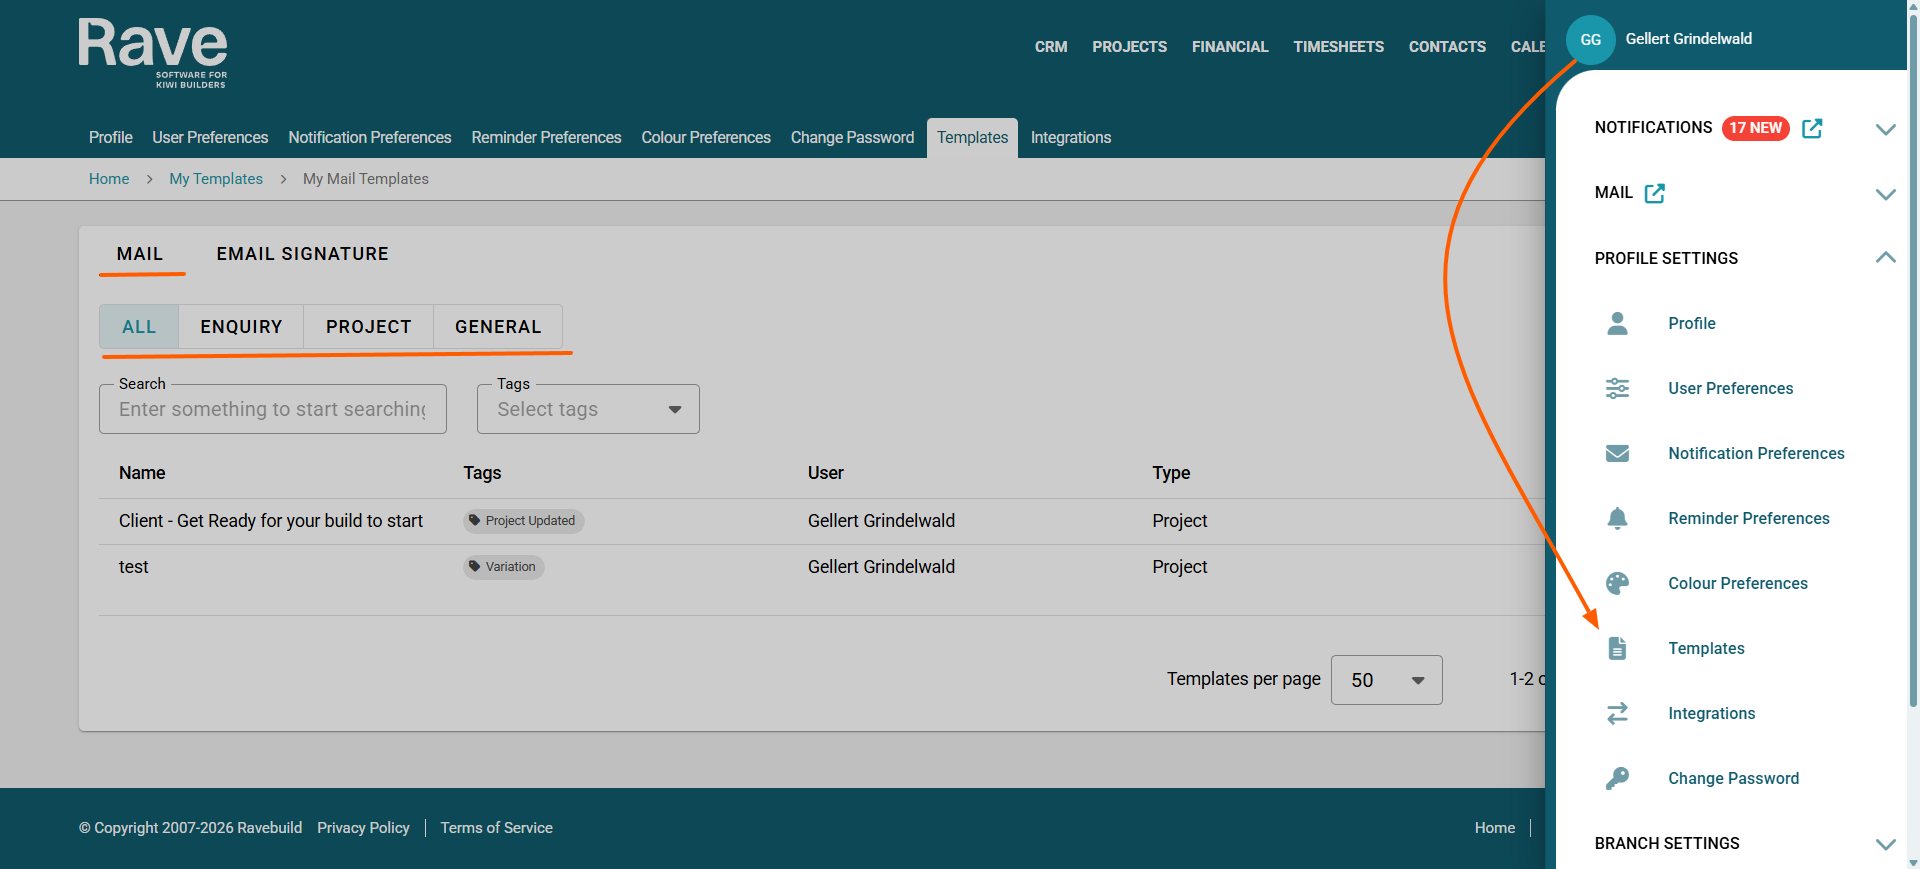
All will display templates from both Enquiry Mail and Project mail in a list form.
The order shows the name of the template, the Category tag if applicable, the user who owns the template, and then the type of template either Enquiry or Project.
You can search for a template using the search box to the top left
You can view a template by clicking the eyeball icon
You can edit a template using the Pencil Icon (with permission)
You can delete a template with the Trash Can icon (with permission)
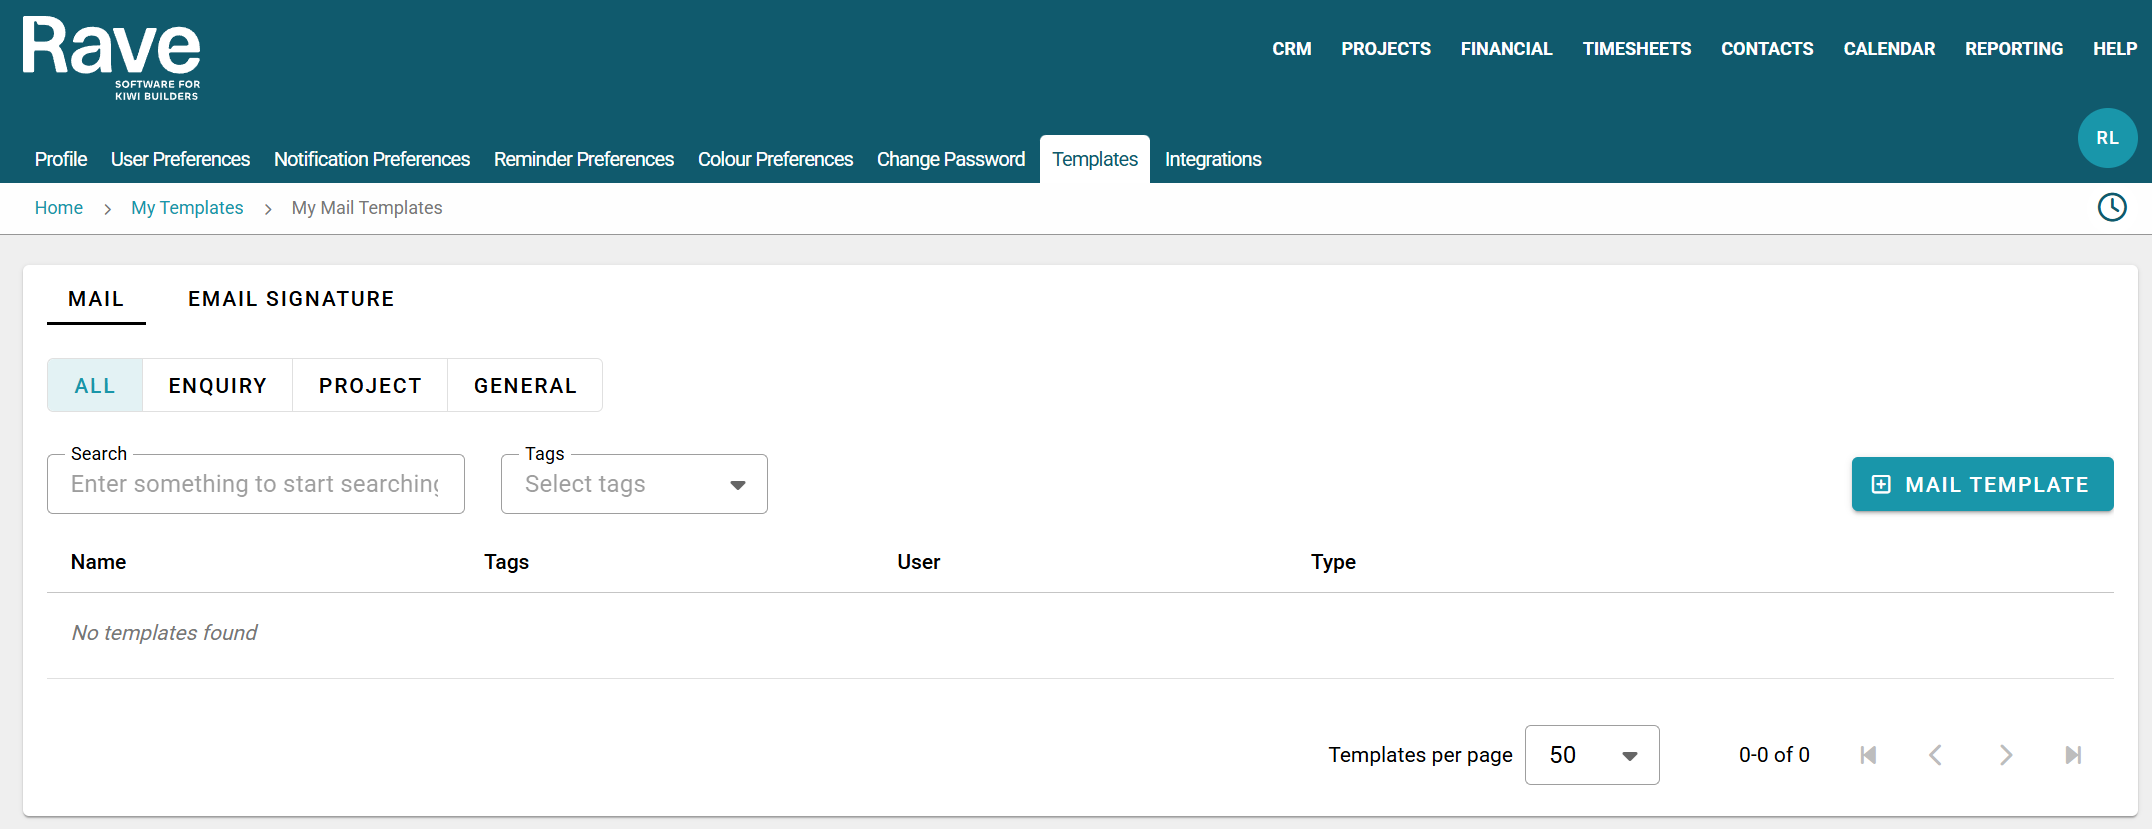
Mail Templates shows all templates that can be used when sending any mail from Rave
With permission you can view/edit other users templates or just your own by default.
To learn how to create/send project mail click here for the help article.
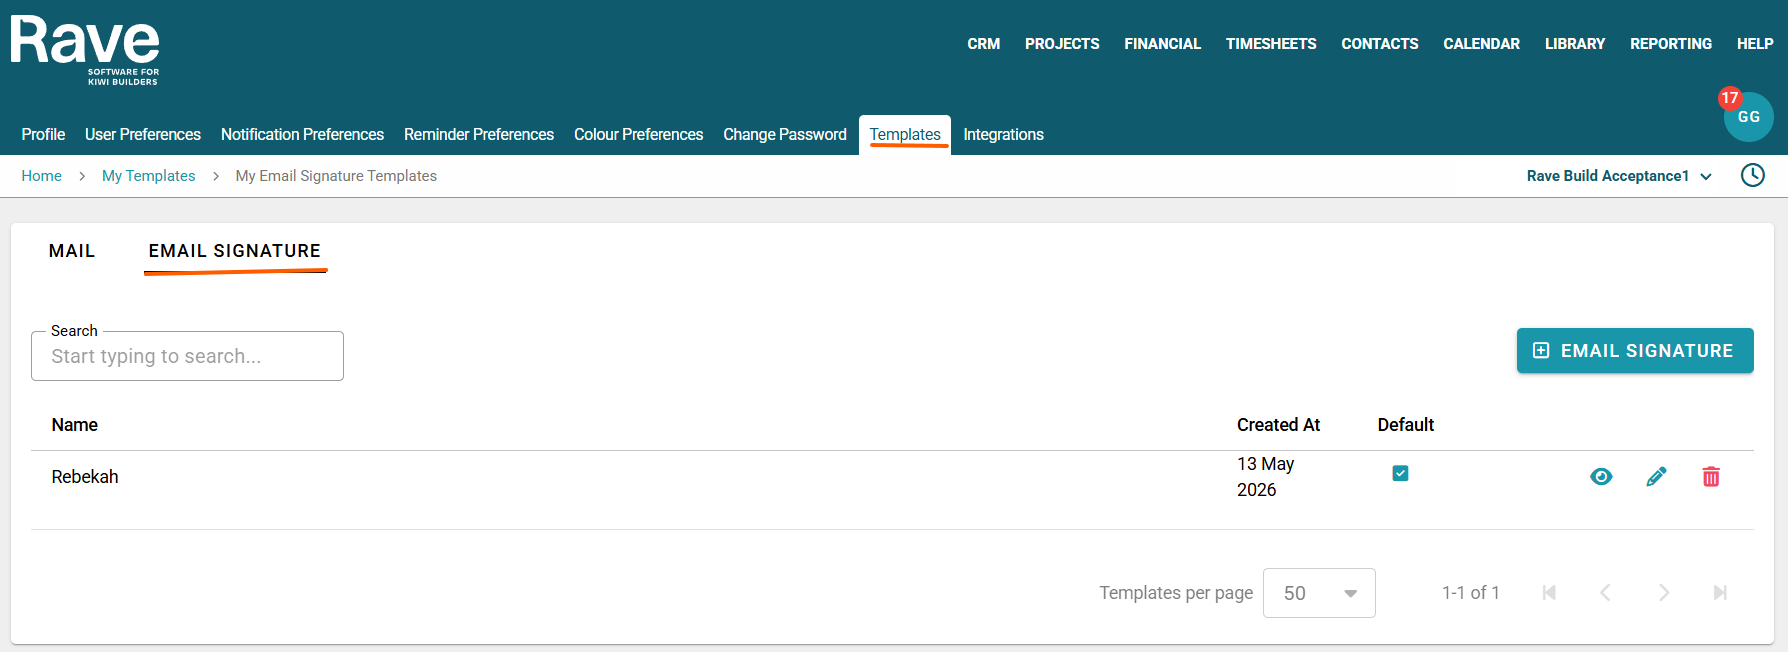
Email Signature Template
Click Email Signature to open the signature template menu.
To create a new template, click + Email Signature.
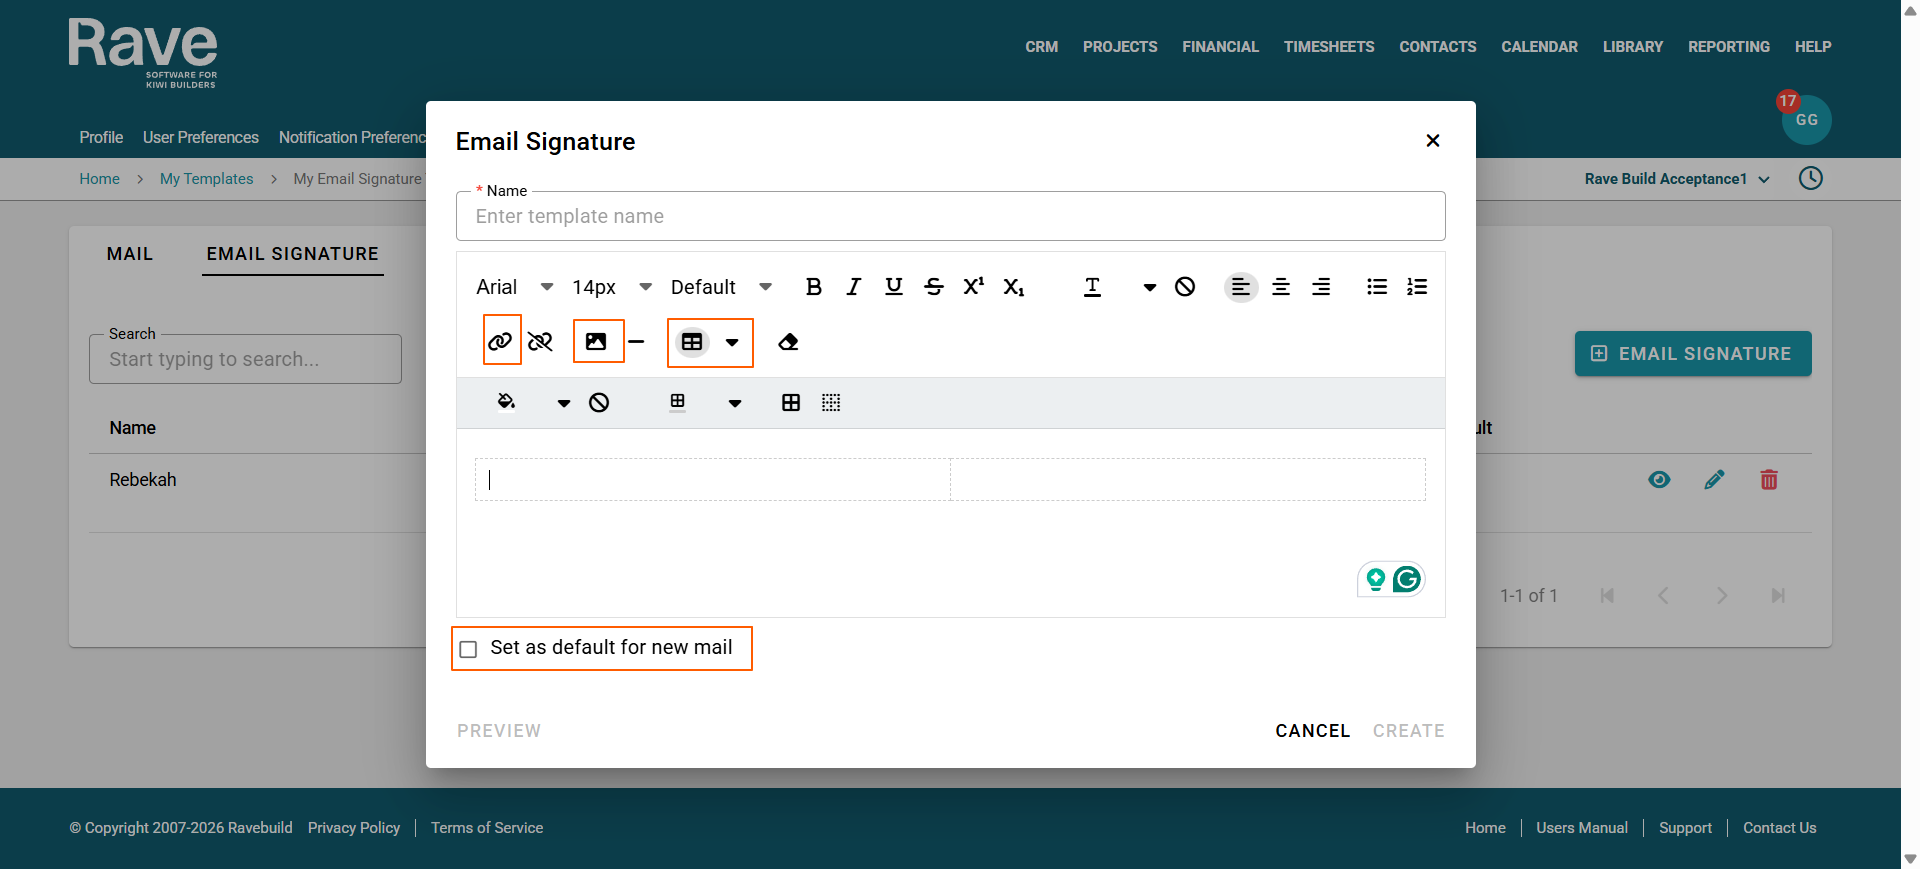
Give each template a clear name so you can tell them apart.
To insert both images and text, we suggest clicking the table icon and creating a table with 1 row and 2 columns.
In the first column, add your signature details, such as your name, position, email, phone number, etc. Then click into the second column and select the image icon to upload your photo. You can use your mouse to enlarge or reduce the image size.
You can also insert icons for Facebook, Instagram, your website, etc. Use the link icon to hyperlink these images so people can click them to visit your pages.
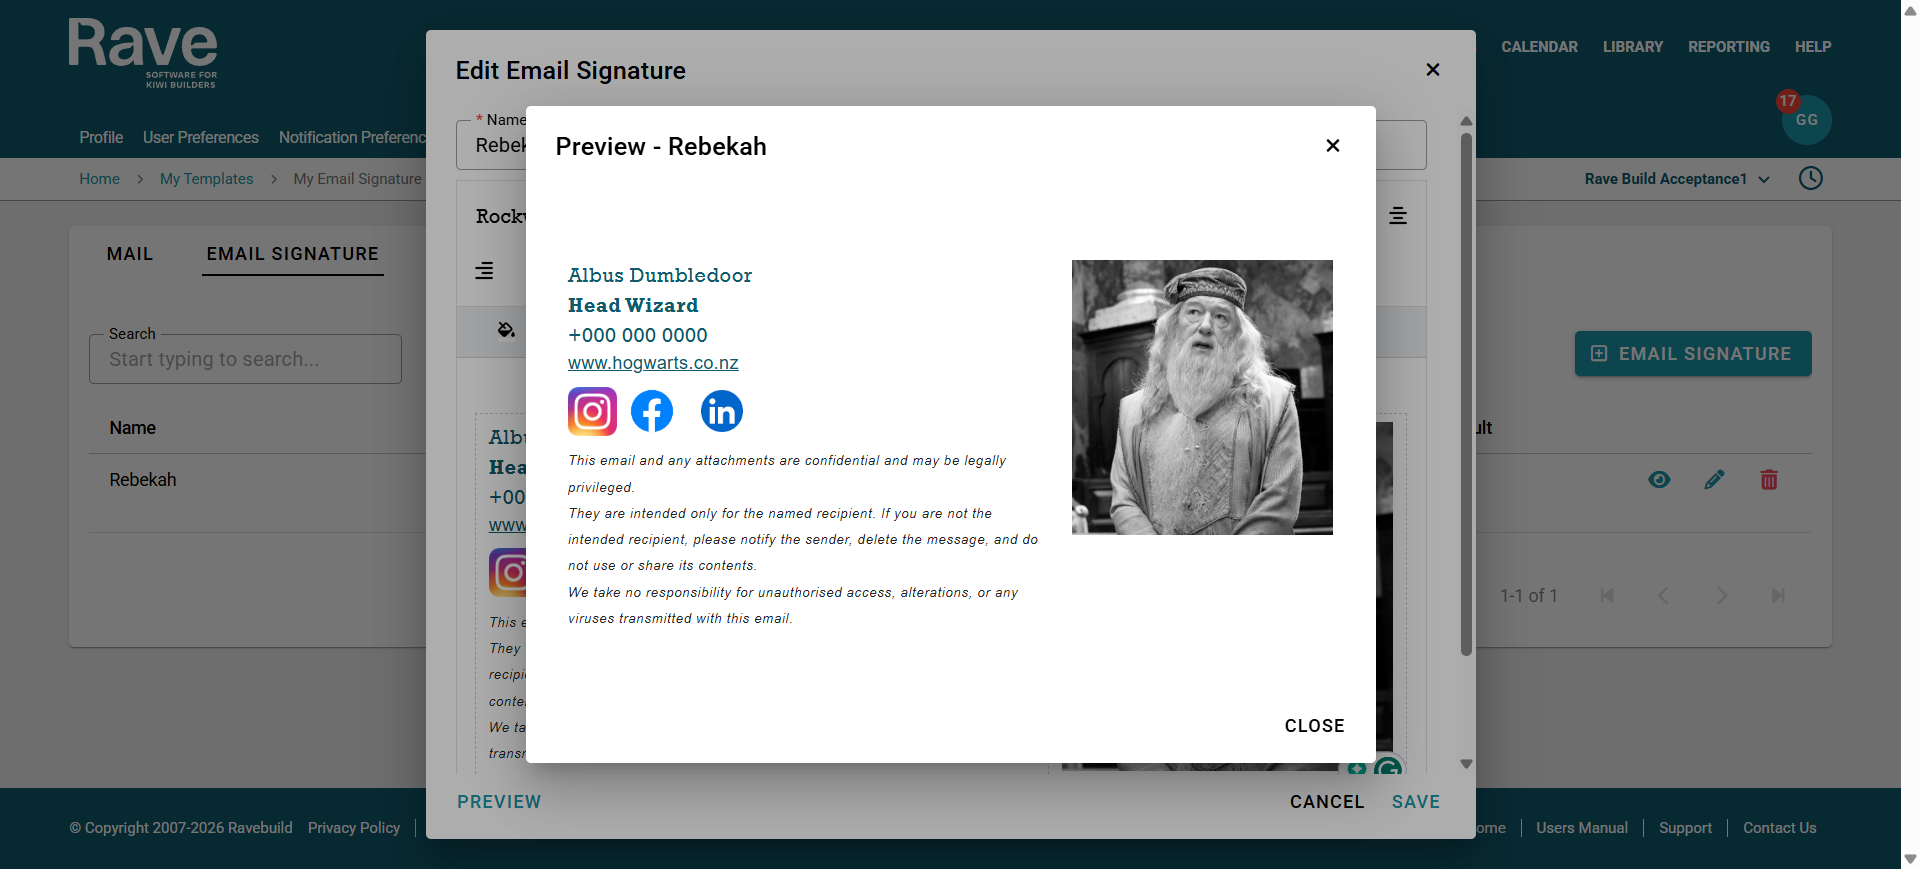
Once you have finished, check the Set as default for new email box and press preview.
You can now preview the signature you have created to ensure you are happy. Press Close to return to your signature.
Now Press create. If you are editing an existing signature, " Create is replaced with Save.
From the main menu, you will see your signature by name, date created, and which one is set as the default.
The eyeball icon lets you preview the signature contents
The pencil icon lets you edit
The trash can icon lets you delete.
Once created, your signature will be used for:
CRM/Project/General mails
Client welcome/reset password email
Contractor invite email
Using your new signatures
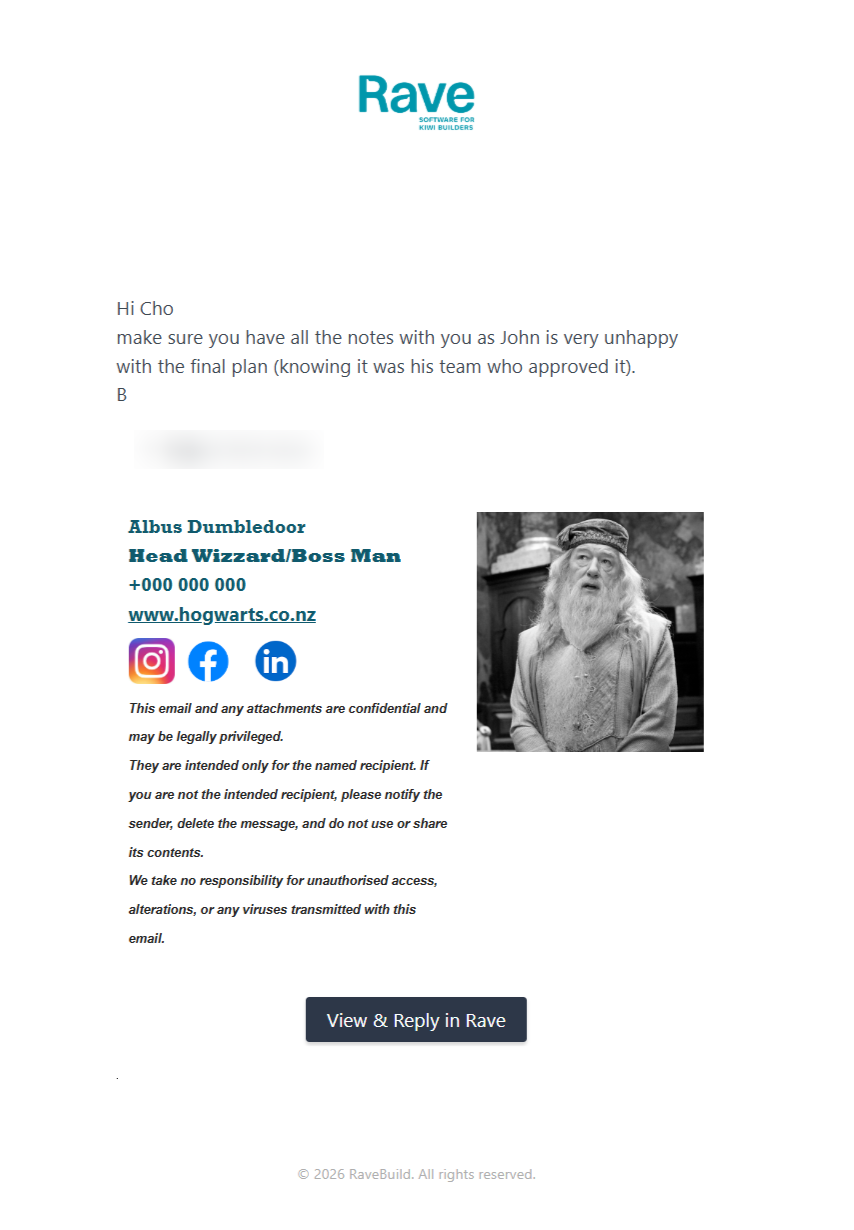
When creating Mail, there is now a Signature box for you to select a signature. By default, we will already insert your default signature when sending. However, if you wish to have a different one, simply choose it from the drop-down. If you click Preview, you can view the signature before you choose which one you wish to use.
Note: The signature will not show on the email it attaches as it's sent from Rave

Was this article helpful?
That’s Great!
Thank you for your feedback
Sorry! We couldn't be helpful
Thank you for your feedback
Feedback sent
We appreciate your effort and will try to fix the article