Downloading the Rave Build App, and logging in
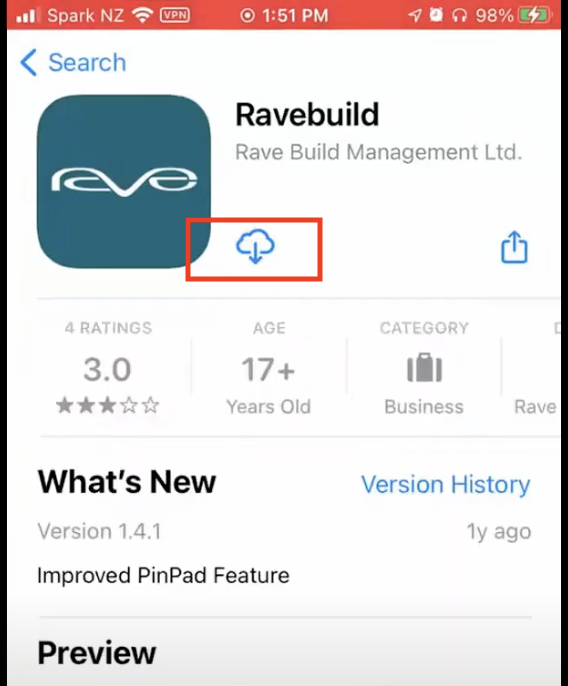
To begin this run-down, it's worth letting you know how to download and access our FREE Rave Build App. This is available from your mobile and tablet App Store. Search for "Ravebuild" as one word, click on the App listing, and then the Download icon.
Once the download is complete, you'll be able to find it on your phone. Click on the app to open, log in with the email and password that you've been given, and hit sign in. You'll then be prompted to enter a 4-digit pin and to confirm it. This will allow quick access to Rave in the future, right up until you log out of the app.

Clocking In (via the app on Mobile or Tablet)
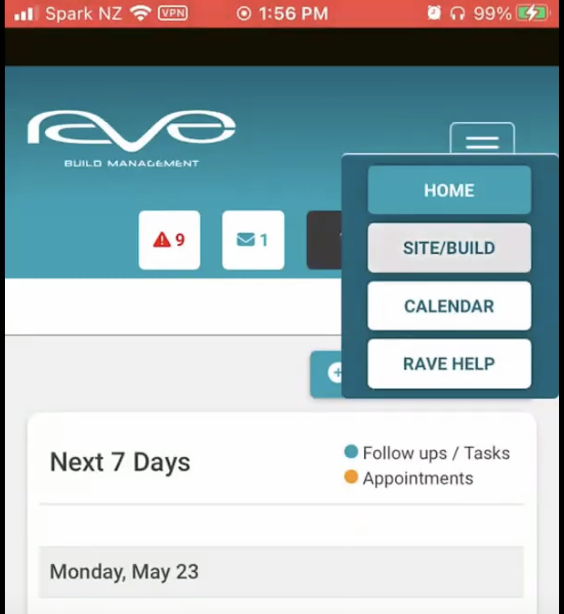
Once logged in, you can find the project you're looking for (and are wanting to add a Timesheet entry for) via the menu up on the top right of the screen, and selecting the "Site/Build" button.
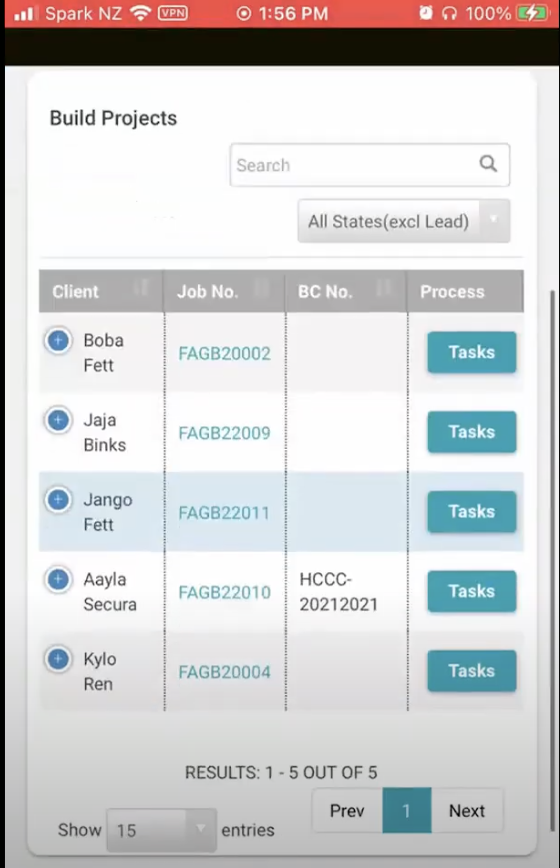
Clicking on this will bring up a screen showing all of the Jobs that you have access to. From here, just click on the job number for the job you're working on - more specifically, the job that you want to add a timesheet entry against.
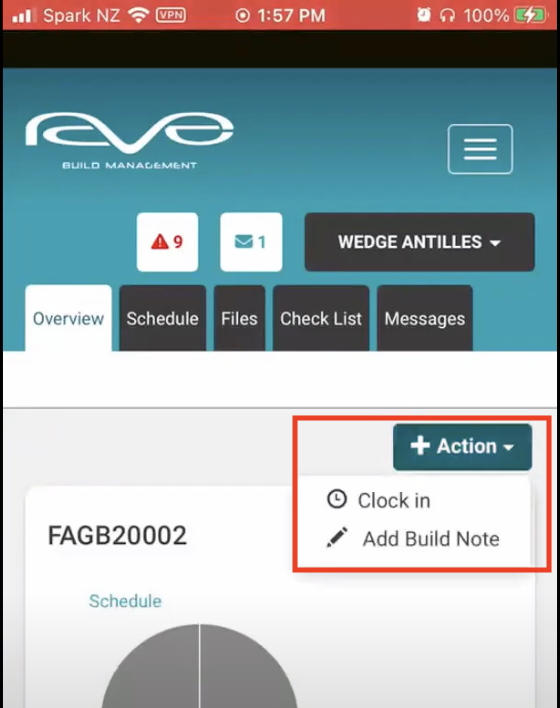
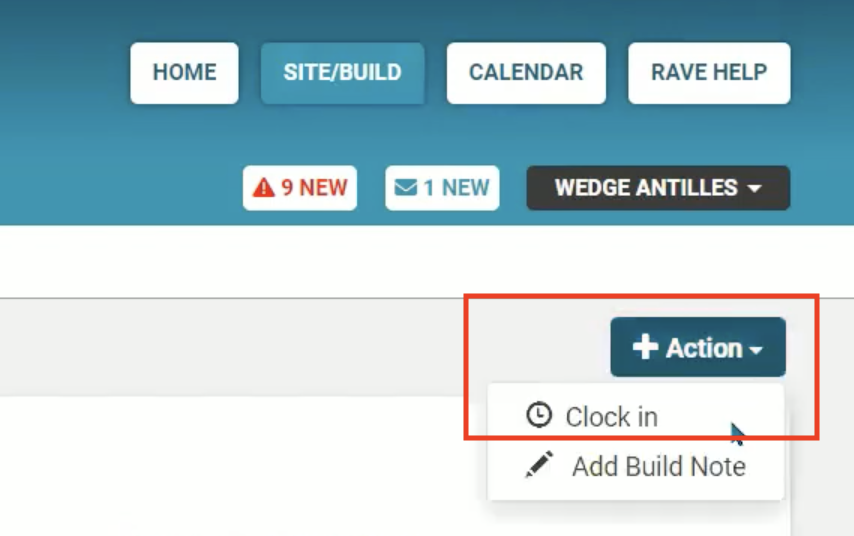
Then, go up to the +Action button, click it, and then click on "Clock in".
Enter today's date (this can be backdated up to three weeks if required for any reason), select your clock in time, and select any time tags if required. These time tags help your admin team correctly portion your hours and work to the correct project. Then click "Clock in to confirm.

Clocking Out (via the app on mobile or tablet)
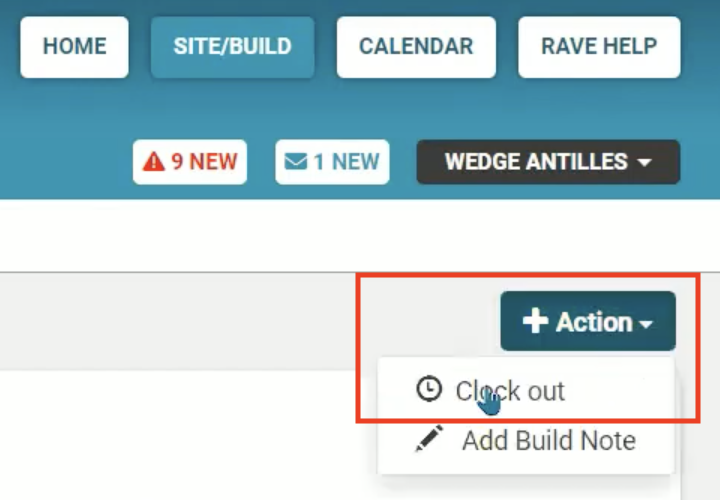
Once your work is done for the day, you can Clock Out within the Rave app. Follow the same log-in process (if required) as before and/or just enter your pin. Go back to the menu (up to the top right), select "Site/Build", click on the Job Number for the project you want to Clock Out of, then go back to the "Action" button again, but this time you'll have the option to select "Clock Out".

Here you have the ability to set your clock-out time and make sure you've loaded any time tags or important notes. You can note anything down that you need to, but it's particularly handy to note anything not already covered by your time tags. Then, click "Clock Out" to confirm.
Clocking In (via a web browser on your computer or internet compatible device)
The process here is very similar to that on a mobile or tablet, we log in to ravebuild.com using our email address and password.

Then, head up to the top right of the screen and click on "Site/Build".

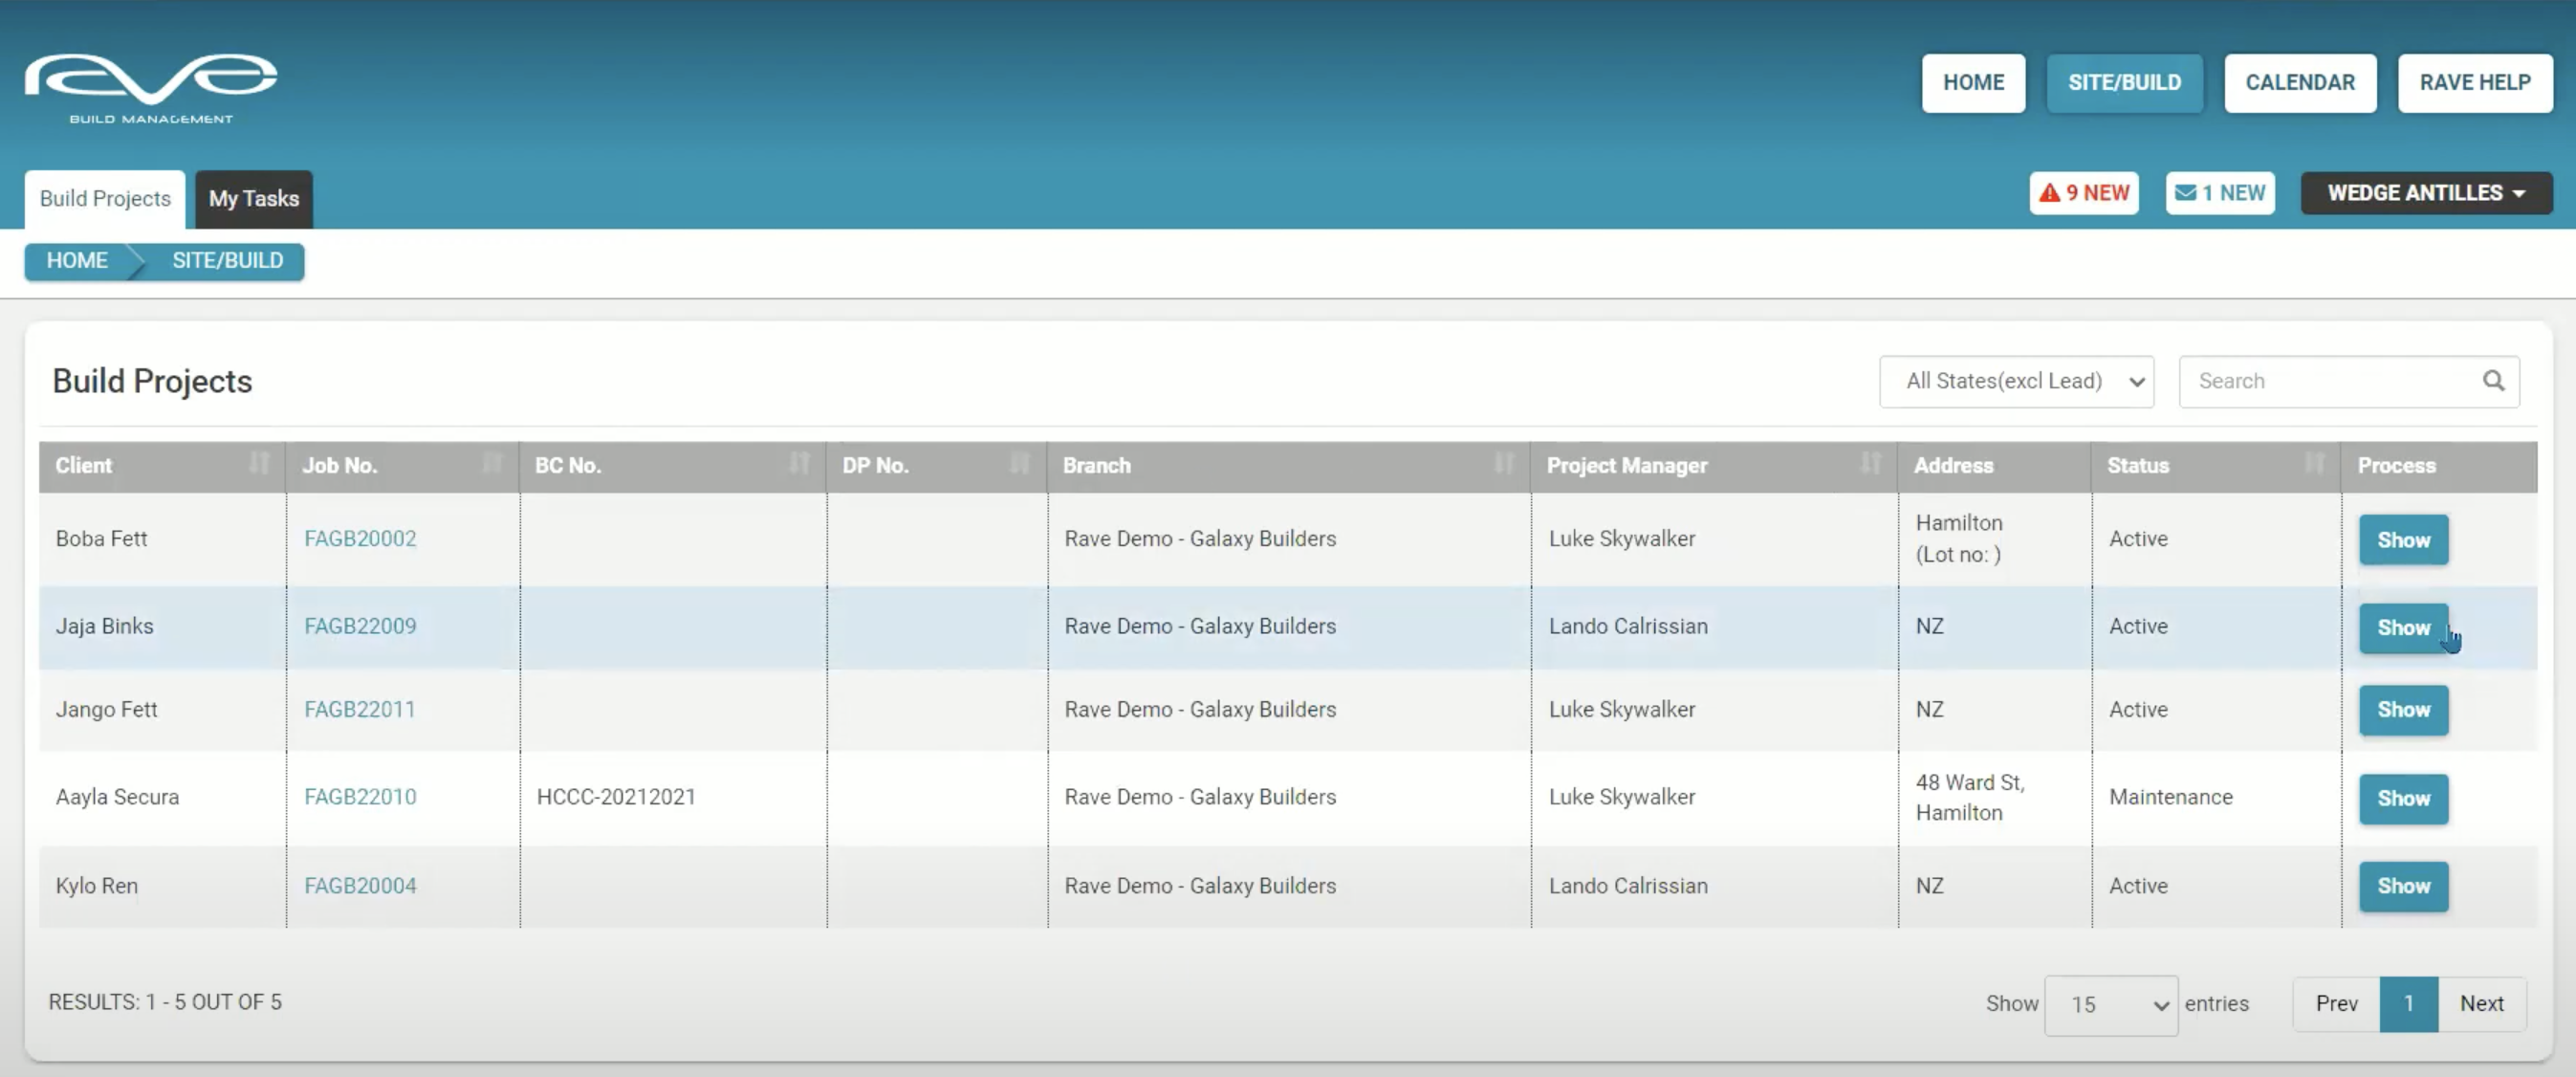
This will bring up a page with all of your jobs on it. Find the job you're looking to Clock into, and click "Show" or the Job number.
Once here, go up to the "Action" button, then click on "Clock In".
From here, enter today's date (this can be backdated up to three weeks if required for any reason), select your clock in time, and add time tags if required. You can select multiple time tags by holding the shift key and clicking additional tags. Finally click "Clock in" to confirm.
Clocking Out (via a web browser on your Computer or internet compatible Device)
To Clock Out, follow the exact process as above, but when you click on the job's "Action" button, it will say "Clock Out" instead of "Clock in".
From here, you have the ability to set your clock-out time and make sure you've loaded any time tags or important notes. Then click "Clock Out" to confirm.

A couple of final notes and tips:
- If you've got to the "Site/Build" tab, and you can't see the job that you want to put a timesheet entry for, contact your Project Manager or Admin Support team to have that job made visible to you.
- We also don't currently have functionality to record lunch breaks, if you need to exclude this period of time just clock in and out before and after your breaks. This also allows you to add time tags for your work in the morning, versus the afternoon, or any other periods you want to add an entry for.